
Choosing the Right Flour for Storage
Understanding Flour Types
When it comes to flour storage, the type of flour you choose plays a huge role in how well it holds up over time. Personally, I like to stick with whole wheat, all-purpose, and bread flour. Each has its own ways of maintaining quality when stored properly. Whole wheat flour, for example, contains oils from the bran and germ, which can spoil quickly if not stored right.
On the other hand, white flours like all-purpose and bread flour have a longer shelf life due to the refining process. It’s essential to think about what you bake most often. If you’re a bread baker like me, bread flour is a staple worth keeping in good condition.
Ultimately, knowing your needs will help you decide which flour types are essential to store for the long haul. Whatever you pick, just make sure it’s quality stuff because that definitely affects its longevity.
Finding Freshness
Now, you might wonder how to determine if the flour you have is fresh. I always check the expiration date and look for the packaging. Flours packed in resealable bags with a vacuum seal tend to last longer. Always go for the freshest option available—never pick those dusty bags sitting on the shelf for ages!
Also, keeping an eye out for any changes in smell is vital. Fresh flour usually has a mild, pleasant aroma. If it starts smelling off, like rancid or sour, it’s time to toss it. Seriously, you don’t want that in your baked goods.
Regularly rotating your flour stock is key. I often mark my bags with the purchase date, so I remember to use older bags first. This habit has saved me from some sketchy baking moments—trust me, it pays off!
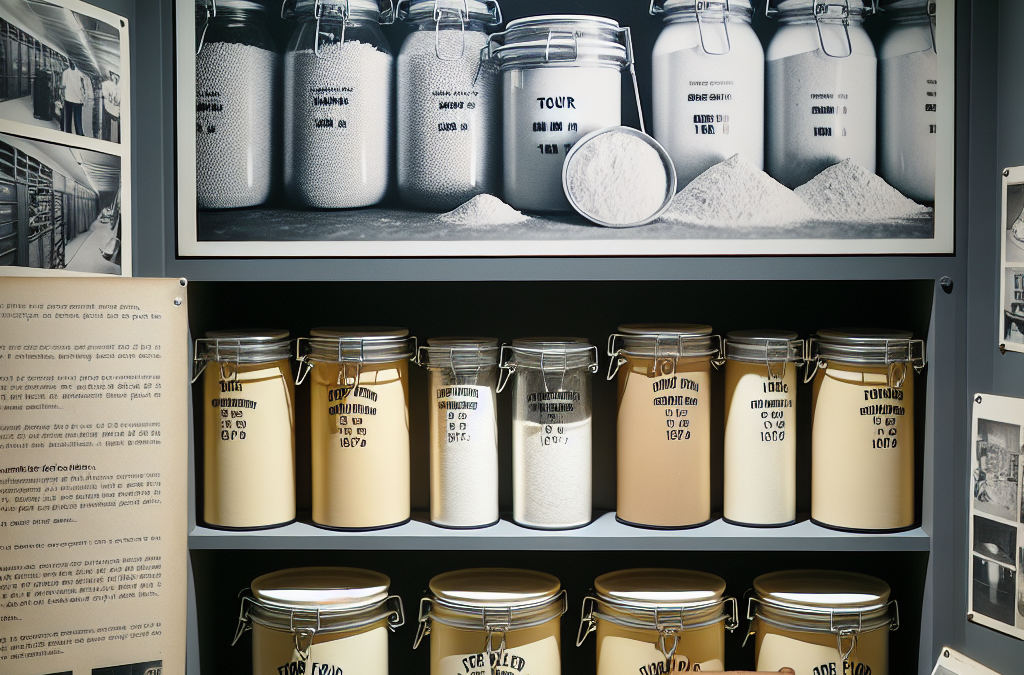
Sealing for Success
After picking the right flour, sealing them is next in line. I usually opt for Mylar bags or glass jars for the ultimate protection. Mylar bags are awesome because they’re moisture and light-resistant, which means they keep your flour fresh for ages, especially when kept in a cool, dark place.
Sometimes, I even throw in some oxygen absorbers in the bags. They help get rid of any remaining oxygen, which can lead to spoilage. Plus, investing in some moisture-proof containers is never a bad idea, especially in humid climates. I swear by this method!
Don’t forget to label everything! A simple marker and tape solution can go a long way in reminding you about what’s what in your pantry. Knowing exactly what flour you have and how old it is helps you avoid using stale ingredients in your favorite recipes.
Creating the Ideal Storage Environment
Temperature Control
Now, let’s talk about the environment where you store your flour. I’ve learned through some trial and error that temperature is crucial. Flour prefers a cool environment—ideally around 50°F to 70°F. If your kitchen gets hot, consider moving those bags to a cooler spot, like the basement or a dedicated pantry.
Heat can cause flour to break down more quickly, leading to decreased quality over time. In my experience, storing flour in the fridge may sound weird, but it’s a game-changer! Just make sure it’s tightly sealed, so it doesn’t pick up any odors from the fridge.
During the summer months, I tend to double-check my flour storage. Even if I forget about them for a bit, checking the condition regularly saves me from future flours poorly suited for baking.
Humidity and Moisture Management
Humidity is another sneaky enemy. This is when using those moisture-proof containers really pays off. If you live in a humid area, make sure your flour stays sealed tight, or it can turn clumpy and unusable. I know from experience that clumpy flour doesn’t mix well in batters!
To combat excess moisture, I also place a food-safe silica gel packet inside my larger storage containers. These little guys help absorb unwanted moisture. I’ve saved quite a few batches of flour this way!
Regularly checking on your flour also helps identify any unwanted moisture sooner rather than later. Keeping your storage area clean and dry is important to prevent mold and spoilage, especially if you live in a damp area.
Light Exposure
Lastly, let’s chat about light exposure. Light can deteriorate the quality of your flour over time. My favorite spot is a dark cupboard, where the bags stay shielded from sunlight, which helps maintain quality. I just pull them out when needed and return them right after!
If you don’t have great dark storage options, you might consider covering your containers with a cloth to block light. An old kitchen towel can do wonders and give it a more rustic look too! It’s a simple trick that keeps things fresh.
Keeping flour away from light will help it last longer and keep its flavor intact. Remember, a well-stored flour makes for a tasty result in the kitchen!
Using Flour in Your Recipes
Testing Freshness Before Use
Every time I pull flour out for baking, I do a quick freshness test. A simple sniff! That’s right, I take a whiff before diving into full-on baking mode. If it smells okay, I sift it. This is actually a great way to ensure there are no pests or odd clumps found lurking inside.
Another tip? Run each batch through your fingers before adding it to your bowl. If it feels gritty or off, it may have gone bad. Discarding aged flour is essential; trust me, I’ve made the mistake of using questionable flour, and the results were not pretty!
Taking the time to check before you bake will save headaches later. Fresh flour helps create the best treats, so don’t skip this critical step!
Adjusting Recipes Based on Age
As I started storing flour long-term, I realized sometimes adjustments in recipes are necessary. If I’m working with older flour, I may need to increase the liquid or fat to get the desired texture. This helps offset any changes in the flour due to age, ensuring my baked goods come out fluffy and delicious.
Another trick up my sleeve is using older flour for denser recipes. It works great in things like cookies or muffins! Savvy bakers know that specific recipes can handle aged flour, while others might struggle.
Keep a recipe journal to see what alterations work best—this way, you can create a go-to guide for when working with younger or older flour. It’s a fun little experiment that’ll make you a flour master in no time!
Sharing Is Caring
Lastly, don’t forget about sharing! Once you hone your flour storage techniques, I recommend sharing your newfound knowledge with friends and family. I love hosting baking days where we explore different recipes using stored flour—some serious fun!
It’s also a great way to reduce any stockpile you have or exchange bags with friends. Everyone can benefit from your flour storage wisdom! Plus, baking together always creates wonderful memories.
So get out there, share the tips, and whip up some delicious treats together. Flour storage doesn’t have to be a solo project, and who doesn’t love sharing goodies with others?
Conclusion
In wrapping up, mastering long-term flour storage is not just a skill but an art that can greatly improve your baking game. I’ve shared practices too often overlooked, all born from personal experience, mistakes, and learning through time in the kitchen. The right flour choices, ideal environment conditions, and keen adjustments in your baking can remarkably extend shelf life.
With these tips, you’ll be prepared to maintain quality flour on hand for all your delicious creations. Roll up your sleeves, get that flour stored properly, and watch your baked goods shine like never before!
Frequently Asked Questions
1. What types of flour are best for long-term storage?
All-purpose, bread, and whole wheat flours are some of the best options due to their versatility and long shelf life when stored correctly.
2. How can I tell if my flour has gone bad?
Check for an off smell, changes in texture, or clumping. If it smells rancid or sour, it’s best to discard it.
3. Is it safe to store flour in the fridge?
Absolutely! Just ensure it’s tightly sealed. Refrigeration can help extend the life of your flour significantly.
4. How often should I check my stored flour?
I recommend checking every couple of months, especially in warmer or humid conditions. Regular checks help you stay on top of freshness.
5. Can I use older flour for baking?
Yes, you can! Just adjust your recipes as necessary and always do a freshness check before using it. Older flour can work in dense recipes quite well.
Related Content
- The Ultimate Guide to 10 Effective Grain Storage Containers with Oxygen Absorbers in 2025
- Top 10 Effective Wheat Storage Tips to Protect Your Grain in 2025
- Refreshing Your Grain Storage Practices: New Tips
- How to Store Gluten-Free Grains Safely at Home
- The Ultimate 2025 Guide to Storing Grains for Long Term: 10 Effective Strategies
Auto Amazon Links: No products found.


