
Choosing the Right Ancient Grains
Understanding Ancient Grains
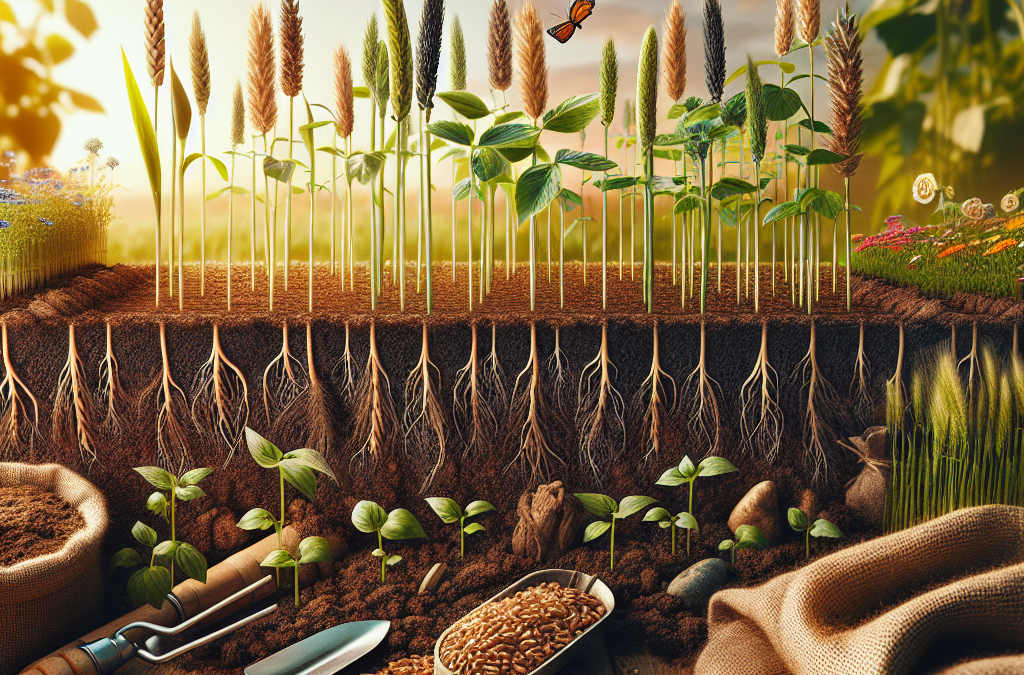
When I first started my journey into cultivating ancient grains, I found myself diving deep into their history and nutritional benefits. Ancient grains, such as quinoa, spelt, and farro, are not only tasty but also packed with nutrients. They’re often less processed than modern grains, making them a healthy choice for anyone looking to improve their diet.
What I really love about ancient grains is their incredible diversity. Each type of grain has a unique taste and texture that can add character to your dishes. Some can be cooked as a simple side, while others can be incorporated into breads or salads. It’s all about finding the right fit for your recipes and palate!
For my garden, I decided to start with quinoa and spelt. They’re perfect for beginners since they adapt well to different climates, and trust me, seeing them grow brings a special joy!
Assessing Your Garden Space
Before you start planting, it’s essential to assess your garden space. Take a moment to walk around and observe the sun exposure, soil quality, and overall layout. Ancient grains often thrive in well-drained soil with good sunlight, so keep this in mind.
In my experience, I found that raised beds or containers can simplify things, especially if your ground soil is less than ideal. Plus, they’re easier to manage, and the grains do well in this type of controlled environment.
Remember, your garden doesn’t have to be huge! Even a small patch can yield a decent amount of grains. Focus on the quality of your space, not just the quantity!
Researching Grain Varieties
It’s super important to research various grain varieties before making your selection. Various types of ancient grains prefer different conditions and growth cycles. Take your time looking into what grows best in your area, especially if you’re new to gardening.
I spent hours browsing seed catalogs and local garden centers, and it paid off. You can learn about the hardiness zones suitable for your state, helping narrow down your choices. Local agricultural extension services can also provide valuable recommendations tailored to your climate.
Always remember to consider how you want to use these grains in your cooking later on. Are you looking for a hearty grain for soups, or something light for salads? This will guide your selection process!
Preparing the Soil
Testing Your Soil
Getting your soil ready for planting is one of the most important steps. A soil test can reveal pH levels, nutrient deficiencies, and overall health, and believe me, this knowledge is gold! I invested in a simple soil test kit from the local garden store, and it helped me immensely.
Once I got the results, I made adjustments by adding organic matter such as compost or well-rotted manure. The grains really thrive in nutrient-rich environments, so I recommend going the extra mile to prepare your soil before you plant.
Don’t overlook soil drainage! If your soil retains too much water, it might lead to root rot, which can seriously hinder your grain growth. Adjust your plan according to your soil’s characteristics.
Tilling and Amending the Soil
After testing, it’s time to till and amend your soil! I love getting my hands dirty in the garden, and tilling is a great way to ensure that your amendments are mixed thoroughly with the existing soil. A garden fork or rototiller does wonders here.
When amending, I focused on incorporating organic matter and any specific fertilizers recommended by my soil test. It’s like giving your plants a boost right from the start!
As you work the soil, you might want to create raised beds if you’re short on space. They can enhance drainage and soil quality, making for happier plants in the long run.
Cultivating Your Grains
Once your soil is prepped, it’s time to plant those seeds! I usually opt for a time in spring or early fall, depending on the grain variety. When you’re seeding, keep an eye on the spacing requirements, as different grains have different needs for room to grow.
Watering is crucial after planting. I often start with a light watering to settle the soil, and then I check regularly to ensure the seeds don’t dry out during germination. Patience is key here!
As they grow, it’s essential to monitor for pests and weeds. I love the gentle art of weeding – it’s almost meditative. Just be sure to handle any issues as they arise to keep your grains healthy.
Harvesting and Storing Ancient Grains
Identifying the Right Time to Harvest
Harvesting is probably the most rewarding part of growing ancient grains! I eagerly waited for the right time, which typically depends on the grain variety. You’ll want to look for a golden-brown hue and dry texture in the grains.
A good rule of thumb is to observe the grains; they should feel hard and firm to the touch. Waiting a bit longer can enhance the flavor but watch out for over-ripening or possible losses from shattering.
Once you’re confident it’s the right moment, bring out the sickle or scissors! It’s a genuinely gratifying experience to take part in the cycle of growing your food.
Post-Harvest Handling
After harvesting, I found it’s essential to handle the grains carefully to avoid damage. I typically lay them out on a clean surface to allow them to dry completely before further processing.
Cleaning the grains from chaff and debris can be a bit tedious, but it’s worth it for the final product! I usually use a simple method of winnowing by gently tossing the grains in the air on a breezy day.
This can also be a great moment to share the joy with friends or family, showing them what you’ve grown and the effort you’ve invested in this journey. It makes the whole process feel even more rewarding!
Storing Your Grains for Future Use
Once cleaned and dried, it’s time to store your grains. I always opt for airtight containers, which help keep the grains fresh and safe from pests. Glass jars work incredibly well for this purpose.
I’ve also found that labeling containers with the grain variety and harvest date is super helpful. You’d be amazed how quickly it can be easy to lose track of what’s what in your pantry!
And there you have it – your very own stash of ancient grains that you can use in various recipes. It feels so satisfying to know that you’ve done this from seed to storage!
Frequently Asked Questions
1. What are some popular ancient grains to grow in my backyard?
Popular choices include quinoa, spelt, farro, and millet. All of these have unique flavors and growing requirements, so choose what appeals most to your culinary interests!
2. How much space do I need for growing ancient grains?
You don’t need a huge amount of space! A small garden patch, raised bed, or even containers can work well for growing your ancient grains effectively.
3. When is the best time to plant ancient grains?
Most ancient grains thrive in spring or early fall. However, it can vary by variety, so be sure to check the specific planting times for the grains you choose!
4. How do I store my harvested ancient grains?
Store your grains in airtight containers in a cool, dry place. Glass jars work wonderfully, and don’t forget to label them with the grain type and harvest date!
5. Are ancient grains harder to grow than modern grains?
Not at all! Ancient grains can be surprisingly forgiving and adaptable. As a beginner, you’ll find them manageable with a bit of care and attention. Plus, they often have fewer pests!
Related Content
Auto Amazon Links: No products found.


