
Understanding Whole Grains
What Are Whole Grains?
First off, let’s talk about whole grains. You might think they are just another type of flour, but trust me, they are so much more. Whole grains include the entire part of the grain kernel—the bran, germ, and endosperm. This means you’re not only getting the wonderful texture but also all the nutritional goodness packed inside. I’ve found that using whole grains can elevate your bread from a simple carb to a powerhouse of vitamins, minerals, and fibers.
When I first started baking, I had no idea the impact that whole grains would have on the flavor and health benefits of my bread. Once I embraced them, it felt like I’d discovered a whole new world. You can use whole wheat, spelt, or even ancient grains like kamut or emmer. Each brings its unique flavor and character, which is super exciting!
Plus, whole grains are really versatile. They can add a nutty flavor profile that you can’t get from white flour. When you bite into a slice of whole grain bread, it’s like a little symphony of flavors. You just have to be ready to experiment a little because different grains can behave differently in your dough.
Choosing the Right Ingredients
The Importance of Quality Ingredients
One thing I’ve learned through trial and error is that not all flours are created equal. When it comes to artisan bread, quality ingredients are key! Trust me, using freshly milled whole grain flour can make a world of difference. It’s more flavorful, and the bread seems to have a life of its own when it’s bubbling away on my kitchen counter.
I always recommend sourcing your grains from a local mill if you can. There’s something magical about knowing where your ingredients come from. You can often find flours that are richer in flavor and nutrients, not to mention fresher than those supermarket brands that may have been sitting on the shelf for too long.
Don’t forget about your other ingredients too. Using natural yeasts, sea salt, and even fresh herbs can elevate your bread from good to “oh my goodness, this is amazing!” Keep your pantry stocked with the best goodies you can find, and your bread will definitely reflect your efforts.
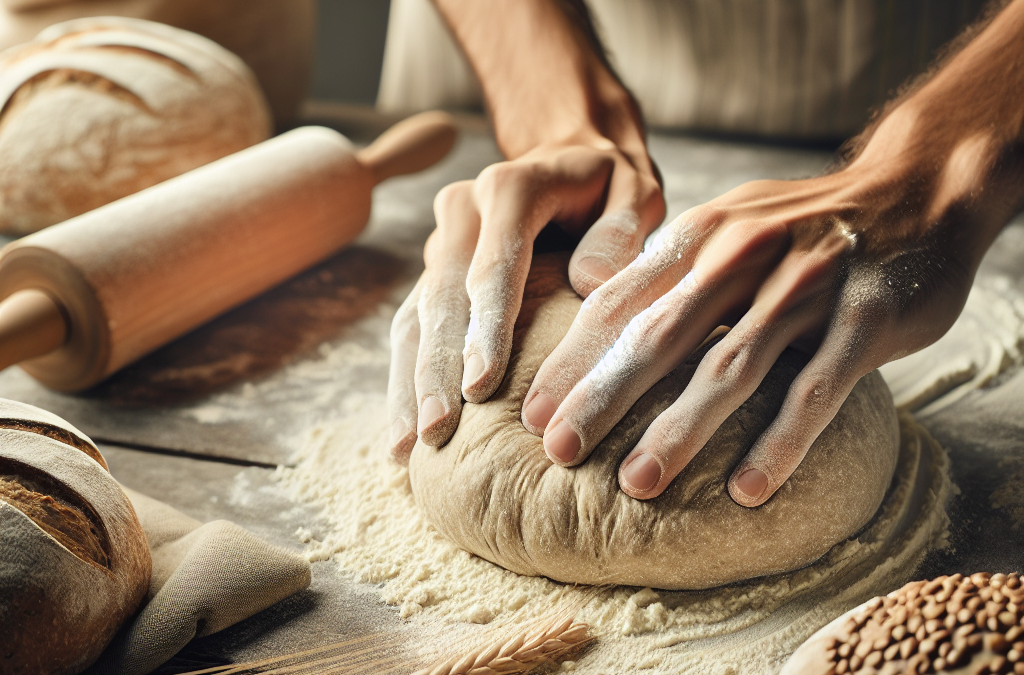
The Art of Kneading
Mastering the Kneading Technique
Error and correction greet you often when you’re kneading bread for the first time. I can remember my initial attempts ended up being this sticky mess. The magic happens with your hands—really! Kneading helps develop gluten, which gives the dough structure and elasticity. A well-kneaded dough will bounce back when you poke it, which is a good sign you’re on the right track.
Now, here’s a tip: you don’t have to be a muscle-bound baker to knead effectively. Just take your time! I usually spend about 10 to 15 minutes working the dough. It’s like a workout for your hands and a chance to get out all your stress, too. Who said baking couldn’t be cathartic?
If you’re looking for a hands-free option, you can also use a stand mixer. Just be careful not to over-knead, or you might end up with tough bread. Your dough should feel like a soft, pliable pillow that’s a joy to work with. Trust me, this bit makes all the difference when you pull that warm loaf out of the oven.
Fermentation and Proofing
Understanding the Fermentation Process
Fermentation sounds like a fancy term, but it’s really just the process where your dough rises. The best part? This is where the flavors develop! During fermentation, the yeast consumes sugars and produces carbon dioxide, which makes the dough grow. If you’re patient, the result is worth it.
I’ve often played around with the timing for my ferments. A longer, slow rise in a cooler environment can create a much richer flavor, while a shorter, warmer ferment is great if you’re short on time. Keep an eye on your dough; the more you do this, the more you’ll recognize when it’s just right. There’s a thrill when you see it puffing up!
Proofing your dough is also a crucial step! After shaping it, you give it a little more time to relax and develop further. I like to cover it with a damp cloth and let it hang out at room temperature. You really get to appreciate the beauty of the dough as it grows under your watchful eye.
Baking Your Bread
The Perfect Baking Environment
Alright, now we’re at the home stretch! The aroma of baking bread is something that fills your home with warmth and love. Preheating your oven is crucial because you want that shock of heat to get your bread rising as soon as it hits the pan. I’ve learned to turn my oven to those high temperatures to achieve that golden crust; it’s like magic watching the transformation!
Don’t overlook the use of steam in your baking. A splash of water in the oven during the initial baking stage can make your crust crustier. It’s just one of those little tricks that can take your artisan bread to the next level. You could also consider using a Dutch oven; it creates a mini steamy environment that I swear by. The texture is just unbeatable!
Lastly, patience is key when it comes to cooling your bread. I know it’s hard to resist, but letting it cool down on a wire rack ensures the crumb stays just right. Nothing’s worse than slicing into your hot bread only to find it’s gummy inside. So, take a deep breath and enjoy the last few moments waiting for that delightful slice you worked so hard for!
FAQs
1. What is the main difference between whole grain bread and white bread?
Whole grain bread uses the entire kernel, which retains all the nutrients. White bread, on the other hand, has the bran and germ removed, resulting in a loss of fiber and essential vitamins.
2. How can I get a better rise with my whole grain bread?
Using fresh ingredients, allowing proper fermentation, and ensuring your water is at the right temperature during mixing all contribute to a better rise. Patience is also key!
3. Can I use whole grain flour in any recipe for bread?
Generally, yes! However, you might need to adjust the hydration levels as whole grain flour absorbs more water. Trial and error will help you find the right balance.
4. How do I know when my bread is done baking?
A bread is typically done when it sounds hollow when tapped on the bottom. This might take some practice to recognize, but you’ll get there!
5. Why is my bread dense and gummy?
This can happen for several reasons, including under-kneading the dough or not allowing enough time for fermentation. Proper cooling time also helps avoid gumminess!
Related Content
Auto Amazon Links: No products found.


