
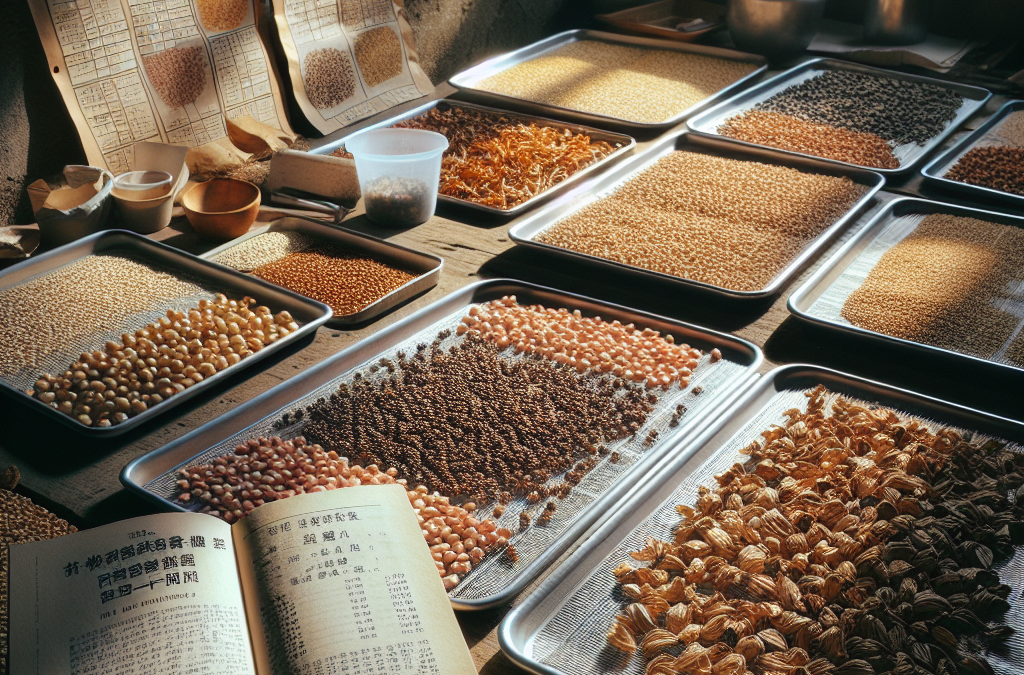
Choosing the Right Grains
Understand Your Options
When I first started on my journey to dehydrate grains, I quickly realized that not all grains are created equal. Some grains, like rice and quinoa, dehydrate quite easily, while others might need a bit more care. So, it’s essential to do your homework and know what you’re working with!
For instance, whole grains usually store better than refined ones because they still have their protective bran layer. Think of whole wheat or oats as your go-to options. They maintain their nutrients and taste mighty good in long-term storage situations.
Also, pay attention to moisture content. You want grains that are somewhat dry to begin with, as this will ease the dehydration process and make them last longer in your pantry.
Quality Matters
Before you even think about dehydrating, you need to ensure the grains you choose are fresh. I remember picking up a bag of quinoa that I thought would be perfect, only to bring it home and realize it was a little stale. Major bummer!
Check the packaging dates and choose grains that haven’t been stored for too long. Fresh grains will yield better results, and their flavor will really shine through in your meals.
And hey, don’t forget to inspect the grains themselves for any signs of damage or pests. The last thing you want is a surprise when you open that long-term storage container!
Preparation is Key
Once I’ve picked out the right grains, preparation becomes my focus. Rinsing is the first step for some grains, especially quinoa, to wash away that bitter coating called saponin. Give ’em a good rinse!
Next, I love soaking my grains for a bit – it helps reduce the dehydration time. Soaking is like giving them a little spa day. Just a couple of hours can make a world of difference.
Also, don’t forget to consider slicing or breaking down larger grains if applicable. This will make the drying process quicker and more efficient!
Dehydration Methods
Oven Drying
One of the simplest methods I’ve found for dehydrating grains is using the oven. First, I preheat the oven to around 140°F (60°C). Then, spread my rinsed grains evenly on a baking sheet. Easy peasy!
It’s important to stir them occasionally for even drying. I usually set a timer and give them some love every 30 minutes. Depending on the grain, this could take a couple of hours or more.
Be sure to keep an eye on them, though. I’ve had a few close calls where I almost ended up with a batch of burnt grains. No fun!
Using a Dehydrator
If you’re serious about dehydration, investing in a dehydrator might be a game-changer. I bought one after my initial experiments, and it made the process so much easier! I just set the temperature, spread my grains on the trays, and let it do its thing.
Most dehydrators have specific instructions for different types of food, so just follow those guidelines for grains. I love that I can set it at night and wake up to perfectly dehydrated grains!
One bonus is that dehydrators use less energy than ovens, plus they keep flavors intact better than some traditional methods.
Air Drying
Air drying is another method I’ve tried, especially for one-off batches. It’s super simple: just spread your rinsed grains out on a clean, dry cloth in a well-ventilated area. The sun does its thing, and you can slowly watch them dry out.
This method can take a while, often days, but it’s the most natural method – and doesn’t use any electricity, which I love! Just remember to protect them from any critters or dust.
While this method works well, I usually combine it with others for speed. But hey, if the weather’s nice, it’s worth a shot!
Storage Solutions
Choosing Containers
When it comes to storage, you can overthink it, but I’ve learned that glass jars, vacuum-sealed bags, or even Mylar bags work well. Just make sure they’re airtight to keep moisture out.
I prefer glass jars because I can see what’s inside. Plus, I feel like it’s more eco-friendly! Just remember to label them with the date and type of grain.
Vacuum sealing is also a fantastic option if you’re serious about long-term storage. You can minimize air exposure and maximize shelf life!
Location, Location, Location!
Storing your dehydrated grains in the right spot is almost as important as how you store them. I keep mine in a cool, dark place like my pantry, away from direct sunlight and heat.
Humidity is the enemy here! Humidity can cause grains to rehydrate or grow mold, so make sure the area is dry and not prone to temperature fluctuations.
If you have a basement, that can be a great option, too. Just keep them in sturdy containers and off the floor to avoid any moisture issues.
Inspect Regularly
Even after storing them, I always make a point to check on my grains every few months. It’s like a little reminder to myself about my pantry stock. I look for any signs of spoilage or pests.
If I find any grains that seem suspect, I toss them out – no sense trying to save a batch that’s gone rogue! Regular checks help maintain the quality of the rest.
This little habit also keeps me informed about what I have and what needs to be used up first. That way, nothing gets wasted!
Rehydration Techniques
Quick Rehydration
When it comes time to use my dehydrated grains, I’ve developed a quick rehydration method that works pretty well. Just add the dehydrated grains to boiling water, cover, and let them soak for about 15-30 minutes.
They plump back up quite nicely! This method is great for things like quinoa and rice. Just make sure to adjust the water ratios based on the grain you’re using.
Oh, and don’t forget to account for cooking times as well. Some grains might need to simmer a bit longer once they’ve rehydrated to get that perfect texture!
Cooking Straight From Dehydrated
I totally get that sometimes you want to skip the rehydrating step. Yes, you can cook grains straight from dehydrated! Just toss them into your soups or stews. Super easy!
Just be mindful to add extra water or stock to your recipes, as the grains will absorb liquid while cooking. I love this method for making quick dinners.
This is also my go-to method when I’m in a rush. Throw everything in the pot and let it work its magic while I focus on other dinner prep tasks!
Flavoring Options
Lastly, I like to add some flavor back into my rehydrated grains. Adding spices, herbs, or a bit of broth can totally elevate their taste. I find that a little bay leaf goes a long way when cooking my bags of cemetery rice.
Sometimes, I’ve thrown in some sautéed veggies while I’m boiling my grains for extra flavor and nutrition. It’s a tasty and healthy hack.
Don’t be afraid to experiment! It’s all about finding what makes your taste buds happy, and you might just stumble into a new favorite dish.
FAQs
1. How long can I store dehydrated grains?
Dehydrated grains can last up to 1-2 years if stored properly in airtight containers in a cool, dark place.
2. Do I need to soak grains before dehydrating them?
While soaking is not necessary, it can speed up the dehydration process and help improve the final texture of the grains.
3. Can I dehydrate cooked grains?
Yes! You can dehydrate cooked grains, but be aware they may not store as long as raw grains. Be sure to cool them completely before dehydrating!
4. What happens if my dehydrated grains are rehydrating slowly?
If your grains aren’t rehydrating well, it may be due to age or moisture content. Make sure you’re using fresh grains and check your water ratios.
5. Are there any grains that should not be dehydrated?
Yes, some grains like barley and farro don’t dehydrate as well because they tend to get mushy. It’s best to stick with grains that have a firmer texture.
Related Content
Auto Amazon Links: No products found.


