
A grain storage checklist is crucial for maintaining the quality and longevity of your grains. It ensures you have the right containers, environmental conditions, and pest control measures in place. This guide will help you prioritize what to include in your storage setup, avoiding common pitfalls and maximizing the shelf life of your grains.
Maintaining the integrity of your grains requires a well-thought-out storage strategy. A grain storage checklist serves as a practical guide to ensure that you are equipped with the necessary tools and knowledge to keep your grains fresh and safe for consumption. The right storage practices can significantly prolong the shelf life of your grains, which is essential not just for home cooks but also for those who rely on grains as staples in their diet.
Many individuals overlook the importance of proper grain storage, often leading to spoilage, pest infestations, or loss of nutritional value. Common mistakes include using inappropriate containers, neglecting environmental factors like humidity and temperature, and failing to conduct regular checks on stored grains. This checklist will help you identify essential elements for effective storage, enabling you to make informed decisions that can save you from costly waste and health risks.

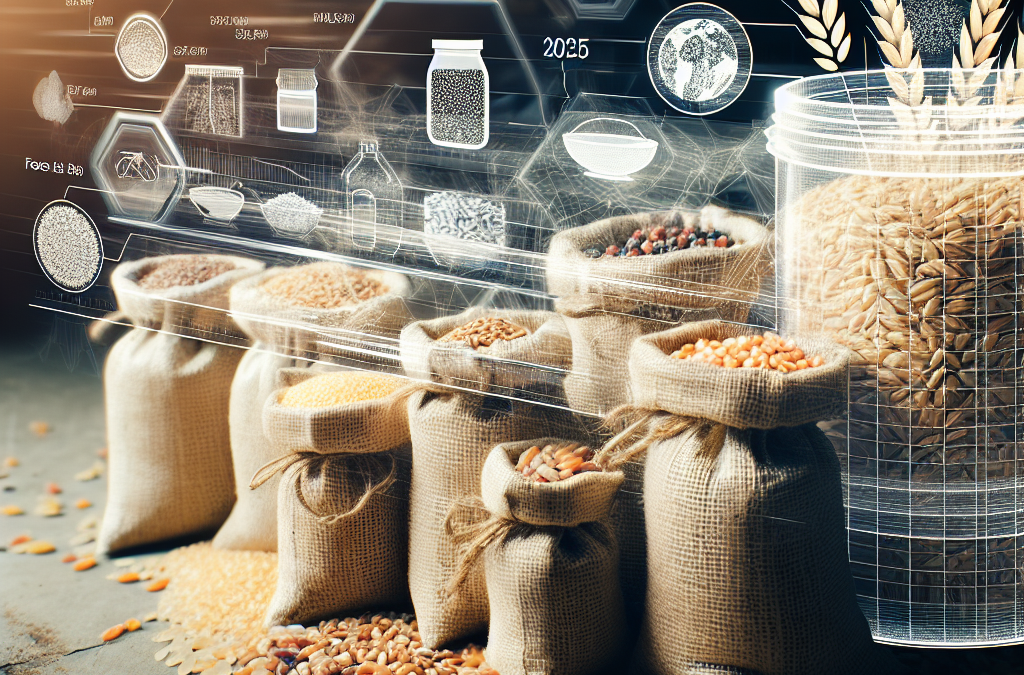
Choosing the Right Containers
The containers you use for grain storage play a critical role in preserving their quality. Airtight containers made of glass, food-grade plastic, or metal are ideal for preventing moisture and pests from compromising your grains. Avoid using cardboard boxes or plastic bags, as they can allow air and humidity to enter, leading to spoilage.
When selecting containers, consider the size and quantity of grains you plan to store. Larger containers may be more cost-effective for bulk storage, but smaller containers can help maintain freshness for smaller batches. Ensure that all containers are clean and dry before use, and label them with the grain type and storage date to keep track of their freshness.
Optimal Storage Conditions
Grains should be stored in a cool, dry place to prevent spoilage. Ideal temperatures range from 50°F to 70°F (10°C to 21°C), with humidity levels kept below 15%. High temperatures and humidity can lead to mold growth and insect infestations, severely impacting grain quality.
To achieve these conditions, consider using a dedicated storage area such as a pantry, cellar, or a climate-controlled environment. If you live in a humid area, using a dehumidifier or silica gel packets can help maintain optimal levels. Regularly monitor the temperature and humidity to ensure they remain within the safe range.
Pest Management Strategies
Pests can be a significant threat to stored grains, leading to contamination and loss. Common pests include weevils, moths, and rodents. Implementing preventive measures is essential to avoid infestations. Begin by inspecting grains for signs of pests before storage and using airtight containers to deter them.
Consider natural pest deterrents like bay leaves or diatomaceous earth, which can be added to storage containers. Additionally, regularly check your grains for any signs of infestation, and practice a rotation system by using older grains first to minimize the risk of spoilage.
Get Whole Wheat Flour, Grains and Milling Supplies – CLICK HERE

Regular Maintenance Checks
Regular maintenance is vital to ensure the longevity and safety of your stored grains. Schedule periodic inspections of your storage area to check for signs of moisture, pests, or spoilage. It’s advisable to conduct these checks every few months, depending on your storage conditions.
During inspections, look for any changes in the appearance or smell of the grains. If you find any signs of spoilage or infestation, take immediate action to remove affected grains and clean the storage area thoroughly. Keeping a detailed log of your checks can help you track any recurring issues and make necessary adjustments.
Frequently Asked Questions
How long can I store grains?
Grains can typically be stored for 6 months to several years, depending on the type and storage conditions. For example, white rice can last up to 30 years if stored properly.
What is the best temperature for storing grains?
The best temperature for storing grains is between 50°F and 70°F (10°C to 21°C) to prevent spoilage and pest infestations.
Can I use regular plastic bags for grain storage?
No, regular plastic bags are not recommended as they do not provide an airtight seal, increasing the risk of moisture and pest entry.
What should I do if I find pests in my stored grains?
If you find pests, immediately remove the affected grains, clean the storage area, and consider using natural pest deterrents to prevent future infestations.
How can I tell if my grains have gone bad?
Signs of spoilage include a sour smell, discoloration, or the presence of pests. If you notice any of these signs, discard the affected grains.
Conclusion
Proper grain storage is essential for maintaining quality and ensuring food safety. By following a comprehensive grain storage checklist, you can avoid common pitfalls and ensure your grains remain fresh and nutritious. Prioritize choosing the right containers, maintaining optimal storage conditions, implementing pest management strategies, and conducting regular maintenance checks. Taking these steps will not only enhance the longevity of your grains but also protect your health and investment.
Related Content
Auto Amazon Links: No products found.


