
Choosing the Right Grains
Understanding Grain Types
When I first started prepping, I was overwhelmed by the variety of grains out there. From rice to wheat, each type has its benefits and drawbacks. It’s essential to understand your options to choose the ones that best fit your needs. For instance, rice has a long shelf life and is incredibly versatile, making it a staple in many households.
On the other hand, grains like quinoa pack a nutritional punch with their complete protein content, but they might be harder to store in the long run. Also, think about your area’s climate because some grains are better suited for warm, dry environments, while others thrive in cooler conditions.
Ultimately, take some time to research and see what fits your lifestyle. Your choice of grains can significantly impact your food storage plan, especially in a prepping situation.
Assessing Your Needs
Next up, I always emphasize the importance of assessing your needs. How many people are you prepping for? What’s your cooking style? For instance, if you’re a fan of baking, having a good stock of flour and oats is crucial. If you make a lot of stir-fries, then rice and barley might be more your speed.
Don’t forget to consider your diet. If you or someone in your family has dietary restrictions, that should also influence your grain choices. Knowing your needs helps you avoid wasted space and money on grains that won’t benefit you.
So, sit down and make a plan. Jotting it down not only helps clarify your thoughts but also gives you a clearer picture when you go shopping.
Budgeting for Grains
Alright, let’s talk about budgeting. Grains can vary quite a bit in price, so it’s essential to keep an eye on your expenses while stocking up. Look for sales, especially on bulk grain purchases. Many stores have discounts or rewards programs that can save you some cash.
Additionally, consider where you buy your grains. Big box stores might have lower prices, but local markets or co-ops often have organic options at reasonable rates. Finding the balance that works for your budget is key.
Remember, prepping isn’t just about emergency situations; it’s also about living well. Don’t break the bank trying to be prepared. It’s all about balance, folks!
Proper Storage Techniques
Choosing Storage Containers
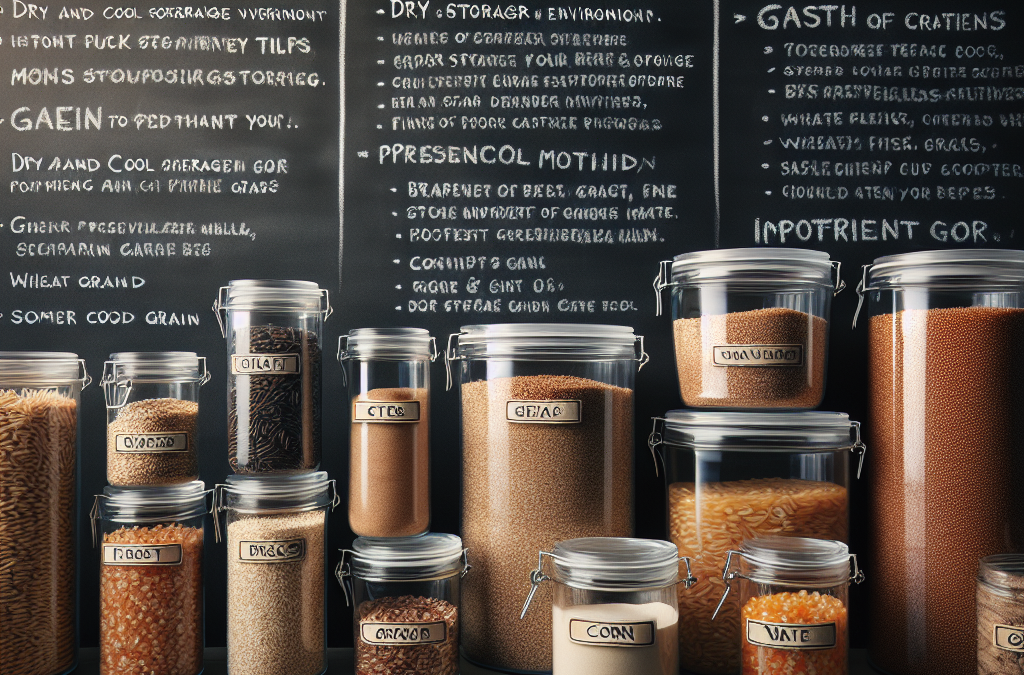
When it comes to storing grains, the right container can make all the difference. From my experience, airtight containers are a must. They help prevent moisture and pests from getting into your stash. I’ve had success using food-grade buckets for larger quantities, and you can often find them at local supplies stores.
There are other options, too, like glass jars or vacuum-sealed bags. Glass jars are fantastic for smaller amounts and can double as decoration in your kitchen. Just make sure whatever you choose is sturdy enough since we sometimes underestimate how much we might accidentally knock over.
In my prepping journey, I’ve learned that sometimes mixing and matching containers can be effective. Use what you have available, just ensure that everything is sealed tight and marked clearly, or you might end up with a surprise dinner!
Location, Location, Location
Storage location is equally important. Find a cool, dark, and dry place for your grains. High heat and humidity can ruin your stash quickly. I found a spot under my stairs that works perfectly—it keeps the temperature stable and is out of sight.
If you’re in a humid area, consider using desiccants or moisture absorbers in your storage containers. This extra precaution can protect your grains from spoilage. Trust me, it’s not fun to find out your grains have gone bad when you finally need them.
Always remember to regularly check your storage area for any signs of pests or mold. A quick inspection goes a long way in preserving your food supplies.
Rotating Your Stock
One tip I learned the hard way is to rotate your stock. Grains can last for years, but the older they get, the less nutrient-dense they may become. An easy way to handle this is to label containers with dates and place newer purchases behind older ones.
This simple technique not only keeps your grains fresh but also helps you get into the habit of using what you learn. Incorporating grains into your regular meals can make this rotation process feel less like a chore and more like a fun challenge.
Setting a reminder to check your stock every few months will help you stay on top of your grain game. You’ll be surprised at how easy it is to keep everything fresh when you make it a part of your routine!
Preserving Nutritional Value
Understanding Grain Processing
So, let’s talk about how grains are processed and why it matters for preservation. Whole grains retain all parts of the grain, which means they’re packed with healthy fiber and nutrients. However, if they’re refined, a lot of that goodness gets stripped away.
In my experience, choosing whole grains can make a significant difference in their nutritional value and how long they last. They may have a shorter shelf life than refined grains, but with proper storage, they’re still a reliable option.
When I started prepping, I invested some time in learning how to cook with different grains since some require more water or cooking time. Educating yourself on these details can save you a lot of time and trouble down the line!
Using Oxygen Absorbers
An excellent way to extend the longevity of your grains is by using oxygen absorbers. These little packets absorb the oxygen within your storage container, creating an environment less conducive to spoilage. When I discovered them, I felt like I’d unlocked a secret weapon in my food storage arsenal!
Be sure to use them according to the product instructions, usually one per container depending on size. Storing grains this way can significantly enhance their shelf life, so it’s worth the small investment.
Oxygen absorbers work best for long-term storage, so if you’re using a specific grain type more frequently, maybe consider rotating it into your regular pantry stock!
Cooking Tips for Nutrient Retention
When it comes to cooking grains, I learned that how you prepare them can impact their nutritional value. For example, soaking grains before cooking can make them easier to digest and help preserve their nutrients. I’ve noticed a difference in flavor and texture when I do this!
Also, be mindful of cooking them in water. The nutrients can leach out into the cooking water, so using a minimal amount or even incorporating the cooking water into your dish can help retain more of that goodness.
Experimenting with different cooking techniques, like toasting grains before boiling them, can also result in richer flavors. So don’t be afraid to play around in the kitchen.
Managing Pests and Spoilage
Identifying Common Pests
Let’s be real: no one wants pests invading their carefully stored grains. I’ve had my fair share of battles with pantry moths and weevils. It’s critical to familiarize yourself with the common pests that target grains, as early detection is your best defense.
Pests often leave behind visible signs, like tiny grains in your storage bins or web-like substances. Regular inspections will help you catch them before they make a meal out of your stash, if you know what to look for.
When you do spot some uninvited guests, act fast! Toss out any affected containers, and clean the area thoroughly. Consider freezing your grains for about a week before storing them again—this can kill off any potential eggs.
Signs of Spoilage
In addition to pests, it’s vital to know the signs of spoilage in grains. If grains develop an off odor, unusual discoloration, or a strange texture, that’s a big red flag. It’s always better to be safe than sorry—when in doubt, throw it out!
Another helpful tip I learned is to check for moisture in your storage containers. If you feel moisture when opening a container, that indicates a potential risk for spoilage.
Don’t forget to trust your senses. Before you start cooking, take a good look and smell your grains. You’ll become an expert at identifying what’s normal versus what’s not!
Preventative Measures
One of the best things you can do to prevent pest issues and spoilage is to use preventative measures. As I mentioned earlier, using airtight containers and storing grains in a cool, dry place is key. Another measure I’ve found helpful is using bay leaves in my containers; they can deter pests naturally.
When you bring new grains home, consider inspecting and freezing them before adding them to your stock. This will help eliminate any potential pest issues before they have a chance to mingle with your other grains.
A little bit of vigilance goes a long way in ensuring your grain storage remains safe and sound. It’s all about creating a barrier between your grains and any potential threats!
Frequently Asked Questions
1. What types of grains are best for storage?
It depends on your preferences, but rice, wheat, oats, and corn are popular choices for long-term storage due to their shelf life and versatility.
2. How long can I store grains?
Most grains, especially if stored properly in airtight containers, can last 5-10 years or even longer. Whole grains generally have a shorter shelf life compared to refined grains.
3. Should I freeze grains before storing them?
Freezing grains for about a week can help kill any potential pests or eggs, making it a great preventative measure before long-term storage.
4. How can I tell if my grains have gone bad?
Signs of spoilage include off odors, discoloration, unusual textures, or the presence of pests. Always inspect your grains before using them.
5. What are some effective storage containers for grains?
Airtight containers like food-grade buckets, glass jars, or vacuum-sealed bags work well. Just ensure they’re durable and marked clearly to manage your stock easily.
Related Content
- How to Organize Your Grain Storage Area Efficiently
- How to Package Grains for Storage: 7 Effective Tips for 2025
- PREPARE for FREE
- The Ultimate 2025 Guide to Emergency Grain Storage Strategies That Protect Your Food Supply
- The Ultimate Guide to Grain Storage for Long Shelf Life in 2025: 7 Effective Strategies to Preserve Your Harvest
Auto Amazon Links: No products found.


