
1. Choosing the Right Containers
Understanding Your Options
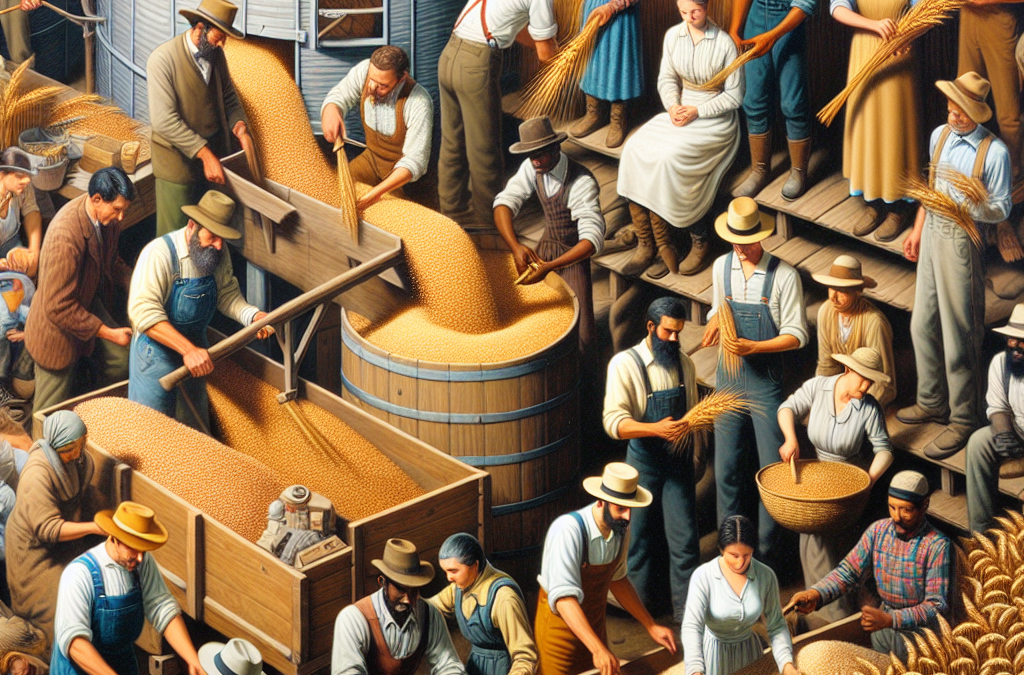
When it comes to storing grain, the container you choose can make all the difference. I’ve gone through a ton of options over the years and learned that what works best really depends on your specific situation. Plastic bins are often recommended due to their lightweight and moisture-resistant properties. They’re also easy to label and stack, making them a great option for smaller homesteads.
However, for those of you with a larger stash, metal containers can easily be the better choice. They’re durable and add a strong layer of protection against pests. Just remember to make sure they’re coated, so your grain doesn’t get any unwanted metallic aftertaste. My personal favorite is using food-grade buckets with airtight lids—they keep everything fresh and are super affordable.
Don’t overlook glass jars either! If you’re storing smaller amounts, they not only look great but also provide an airtight seal and visibility. I love having a mixture of different types; it adds a personal touch to my pantry and keeps things organized and accessible.
Maintaining Proper Sealing Techniques
A big thing to keep in mind is the importance of sealing your containers properly. If your containers aren’t airtight, you might as well store your grain outside for all the protection it’s offering! I’ve learned that gaskets are my best friend in keeping moisture out. Make sure any container you buy has a quality seal. If you’re reusing old containers, check for any damage that could let air in.
Also, don’t forget to allow the grain to cool before sealing it in, especially if it was just harvested. Trapping warm, moist air inside those containers is a recipe for disaster—hello mold! I like to let my grain cool for at least a day before sealing it up tightly.
And a tip I swear by: Always label your containers with the type and harvest date. Trust me, future-you will thank present-you when you’re digging in the pantry trying to figure out what’s what!
Finding the Right Size
Another consideration when choosing containers is size. Over the years, I’ve learned the hard way that it’s less about getting the biggest container possible and more about getting the right size for your needs. You don’t want a huge bin filled with a small amount of grain—it makes it harder to access and you can end up with spoilage.
Consider how often you’ll be accessing the grain. Smaller containers that you can refill often tend to work better for me. They’re easier to lift when I’m aiming to make that fresh batch of cornbread, and I can switch them out as necessary.
Plus, a variety of sizes allows for flexibility. I always have different bins for different grains—some for oats, others for wheat—so I can keep things organized. It’s not just practical; it feels good when everything has its place!
2. Climate Control and Storage Environment
Understanding the Ideal Temperature
Temperature is a huge factor when storing grains, and I can’t stress that enough. I remember the first winter I tried to store my grains in a cold shed. They froze, thawed, and—lets just say—ended up not being in the best condition. Ideally, grains should be stored in a cool, dry place, ideally between 50°F and 70°F. This helps prevent spoilage and extends their shelf life significantly.
If you can, find a temperature-regulated storage area. A basement or a cool corner of your home usually works. If it’s too warm, I’ve turned to using fans to circulate the air and help keep temperatures down, just be sure to have proper ventilation.
Another thing I’ve learned is to avoid storing grain in attics or garages that heat up during the summer months. I did this once, and it ended in disaster—lots of disappointed recipes later! Now, I’m all about finding the right balance at home.
Humidity Control
Humidity is just as important as temperature. Too much moisture in the air can cause your grain to mold and spoil. I try to keep my storage areas dry by using desiccants or dehumidifiers, especially in the humid summer months. Trust me, nothing ruins your hard work faster than an unexpected mold outbreak!
When I do run into issues, I’ve found silica gel packets or even activated charcoal can help absorb excess moisture. Just remember to check them regularly and replace them when necessary.
A great trick I picked up is to add dry rice in little cloth pouches into my storage bins. It helps absorb excess moisture naturally and keeps everything fresh, plus it’s super cost-effective! And if they ever spill, there’s no mess to clean up—instead, I just boil the rice for a lovely treat.
Protecting from Pests
Pests are another headache I’ve dealt with when it comes to grain storage. Certain critters just love grains as much as we do! I’ve found that sealing my containers well was initially my best line of defense, but it doesn’t always cut it. One of my best practices has been to store my containers off the ground on shelves. This protects against insects and rodents getting cozy.
Also, consider natural pest repellents like bay leaves or essential oils. I scatter a few bay leaves inside my containers, and it helps keep those little buggers at bay. I’m also a fan of planting herbs like lavender or mint near my storage to make the area inhospitable for pests.
If you do find signs of infestation, make sure to act quickly. Don’t be like me—let it go and regret it later. Dispose of any grains immediately, clean the area thoroughly, and re-evaluate your storage practices to prevent it from happening again.
3. Regular Monitoring and Inspection
Set a Routine
When it comes to grain storage, getting into a regular habit of checking on your supplies can save you headaches down the line. I try to inspect my stored grains at least once a month. During this time, I check for any signs of spoilage, mold, or pests. It’s a great way to be proactive rather than reactive.
This routine also gives me an opportunity to reorganize my storage space, ensuring everything is accessible and labeled appropriately. Just make it part of your routine, like watering plants or checking on your chickens. I even pour myself a cup of coffee first to make the inspection feel more like a little ritual!
During my inspections, I also like to rotate my grains. Since older grains have a shorter shelf life, I make sure to use them first while still replenishing with fresh stocks. It’s amazing how easily we forget what we have lingering in the back of the storage space!
Documenting Storage Conditions
It’s helpful for me to keep a little notebook detailing the conditions of my grain storage. I jot down temperatures, the angle of ventilation, and even any pests I might notice. This way, I can see if there’s a trend developing—like if a high humidity day leads to mold, for instance. I can adjust accordingly in the future.
Sometimes it’s easy to overlook things day-to-day, but keeping tabs on these small details can help you spot potential issues before they arise. Think of it as your own little logbook of grain health! I even use different colored pens to make it more fun.
These notes come in handy when I’m planning future harvests and storage. I can look back on patterns and adjust my practices for next time. Want to avoid common pitfalls? Documenting is a great way to do it!
Addressing Any Issues Immediately
If I do come across any issues during my inspections, I know it’s crucial to address them right away. Whether it’s replacing a damaged lid or discarding a batch that’s gone bad, taking action is vital. Every moment I wait could result in even more issues—or worse, contaminate nearby grains!
Another thing I’ve learned is to clean those containers regularly. Dust or old residues can attract unwanted pests or incense mold growth. An outdoor cleaning day where I scrub my storage containers made a massive difference!
Lastly, if I notice an infestation, I always contain the area and dispose of affected grains immediately, ensuring not to let any pests escape into my other supplies. Better safe than sorry!
4. Labeling and Organizing
Keeping Track of What You Have
Labeling your grains is essential and can be a life-saver confusing moments. Imagine needing that cup of barley for dinner and having to rummage through containers trying to figure out what’s what! I make it a point to label my containers clearly with the date, type of grain, and even the source if I can.
I’ve found colorful tape and a trusty label maker make the process fun. Labeling not only makes everything easier to find, but it also helps with planning—figuring out what I should use next and what I need to replenish.
Don’t overlook adding the number of servings or weight inside! It can help keep you balanced and organized. You’ll be amazed at how this little step can streamline your cooking and baking processes.
Creating a Functional Layout
Organizing your storage area is equally important. I like to group grains by type and frequency of use. My most commonly used grains are easily accessible on shelves I reach for daily, while those fewer used get stored higher up or in the back.
Also, consider stacking bins that aren’t heavy. I use smaller containers for grains I only use occasionally, so I don’t have to wrestle during a cooking emergency!
Come up with a system that works for you, whether it’s color-coding or alphabetizing! It might take a bit to find your rhythm and adjust it, but your future self will thank you.
Updating Labels Over Time
Remember to ensure that the labels stay current. As grains are used, it’s easy to forget which ones are running low or expired. Make a habit of renewing your labels every few months, and while you’re at it, check the contents for quality.
Irregular items can easily fall to the back, and if you don’t keep tabs on what you have or haven’t used, you might end up with expired goods that no one can use. I still have a couple of old grains I should have checked sooner—don’t let this happen to you!
By staying on top of updates, you’re not just preventing waste, you’re also helping streamline your cooking and grain usage. It’s a small effort but pays off in big ways when it comes to your kitchen efficiency!
5. Safe Consumption Practices
Checking Before Use
Finally, a crucial part of grain storage is ensuring what you’re using is safe for consumption. I always perform a quick inspection before cooking anything from my pantry. Look for any signs of spoilage, odd smells, or discolorations. If it doesn’t look, smell, or feel right, don’t use it. It’s better to be safe than sorry!
It’s also essential to rinse grains before cooking, especially if they’ve been stored for a while. This simple step can wash away any excess dust or residues. I have a dedicated colander that’s just for grains—it’s become an essential part of my cooking process!
When in doubt, I like to do a quick taste test (if it’s safe!). If something seems off, it might be time to sit down and rethink your storage practices. If it’s not sitting right with you, don’t serve it—trust your instincts!
Knowing Shelf Life
Each type of grain has its own shelf life, and knowing these numbers can save you from the food waste trap. I’ve learned to jot down the shelf life expiration right on my labels. For instance, you’ll find whole grains last longer than flours. Check out some resources to see what’s what and adjust accordingly.
Different grains are more prone to spoilage too; things like oats or corn have longer lives compared to brown rice or whole wheat. I’m always amazed at how diligent crystal-clear lines can enhance my knowledge and efficiency when it comes to grain consumption.
And hey, don’t forget to check up on the latest recommendations! Shelf life can change depending on storage conditions and advancements in food science. Keeping informed is one of the best practices I’ve adopted.
Cooking with Confidence
Finally, let’s talk about cooking with your stored grains! I enjoy getting creative in the kitchen, but knowing how to work with what I have on hand makes the process even more fun. Embrace experimenting with different grains based on what’s available!
Every time I pull out a grain, I feel like a little chef ready to whip up a dish. Do some research into new recipes and don’t hesitate to make adjustments when necessary. The flavors waiting to be explored in your pantry are infinite!
Understanding how to use each type gives me the confidence to not only enjoy my meals but also share them with my loved ones, knowing they’re safe and delicious. Plus, I aim to make it as enjoyable as the baking itself!
Frequently Asked Questions
Why is it important to store grains properly?
Proper grain storage helps to prolong shelf life, prevent spoilage from moisture and pests, and maintain the overall quality of your food supply. Without proper practices, you could end up with inedible grains that go to waste!
What type of containers are best for grain storage?
The best containers are airtight and moisture-proof. Food-grade buckets, glass jars, or metal bins with seals are all great options. Choose what works best for your space and volume needs!
How often should I inspect my grain storage?
I recommend checking at least once a month. Regular inspections can help you spot problems early and ensure your grains are safe and in good condition.
What should I do if I find mold in my grains?
If you spot mold, it’s best to discard the affected grains immediately to prevent further contamination. Clean the area thoroughly afterward.
Can I still use grains past their shelf life?
Understand your grains’ visual and smell characteristics first! If they look and smell good, they may still be okay to use, but always err on the side of caution.
Related Content
Auto Amazon Links: No products found.


