
1. The Basics of Galettes
What is a Galette?
So, you might be asking yourself, what the heck is a galette? Well, let me break it down for you. In simple terms, a galette is a delicious, rustic French dish that’s basically a free-form pastry. Unlike traditional pies or tarts, galettes can be filled with just about anything you like! Whether you’re a sweet tooth or a savory lover, galettes have got you covered.
Traditionally made with a flaky crust, they’re incredibly versatile. The concept is easy: you roll out your dough, toss some filling in the center, and fold the edges up around it. Boom! You’ve got yourself a galette. The best part? It’s super forgiving, so don’t sweat the details!
One key aspect of galettes that I love is that they embody that “making do” spirit. You can use whatever ingredients you have on hand, which makes it an ideal dish for those of us who enjoy being creative in the kitchen.
Whole Grains: Why They Matter
Now let’s chat about whole grains! You see, I’ve been gradually shifting towards healthier eating, and incorporating whole grains was a game changer for me. Whole grains are basically grains that haven’t been stripped of their fiber and nutrients. Think whole wheat flour, oats, and quinoa—lots of yum!
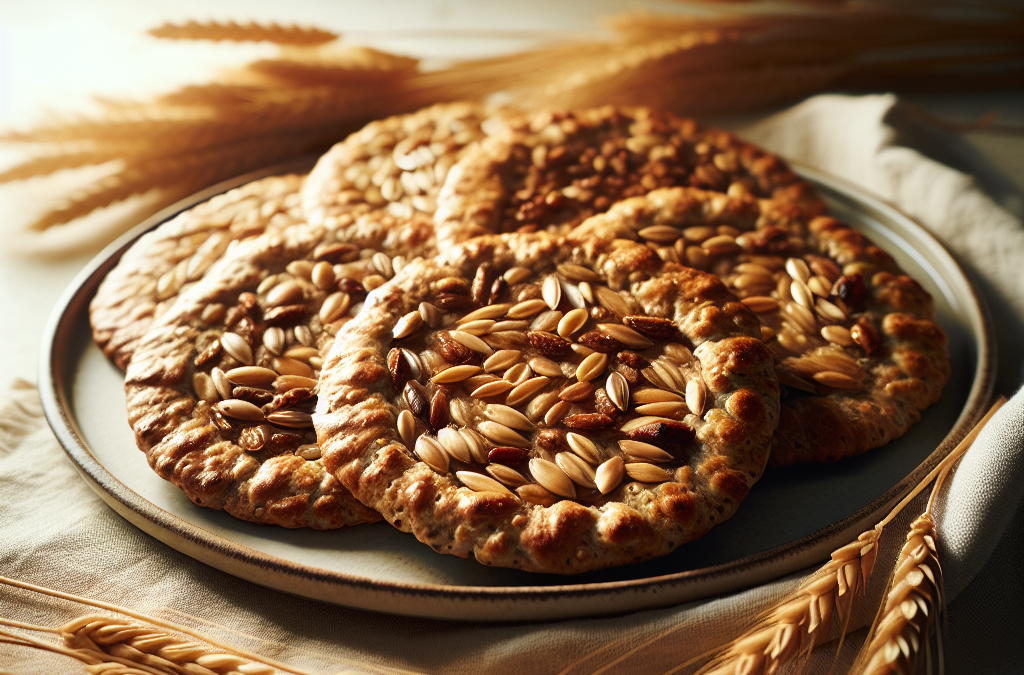
Using whole grains in your galette not only boosts the nutritional value but also adds a lovely texture and flavor. Plus, it makes you feel less guilty and more energized after you indulge. Trust me, it’s a win-win!
When you choose whole grains, you’re doing your body a favor. They’re known to be heart-healthy, help with digestion, and can even aid in weight management. So, why not switch things up and give whole grain galettes a try?
Simple Galette Dough Recipe
Alright, let’s get into the fun part—making the dough! Here’s my go-to simple recipe that guarantees flaky and delicious galette crust. Start with 1 ½ cups of whole wheat flour, 1/2 tsp of salt, and 1/2 cup of cold butter cut into cubes. You’re going to want to mix these until they resemble coarse crumbs.
Next, add around 3 to 5 tablespoons of ice water gradually until the dough holds together. I usually mix it with my hands because, let’s be real, it’s way more satisfying that way! Wrap that beauty in plastic wrap and refrigerate for at least 30 minutes. This gives the gluten a rest, leading to a tender crust.
When you’re ready to roll it out, sprinkle some flour on the surface (and maybe a bit on your rolling pin if you’re feeling fancy!). Roll it out to about 1/4 inch thickness. Don’t worry if it’s not perfect; that rustic look is part of the charm!
2. Filling Your Galettes
Sweet Filling Ideas
Let’s talk fillings! One of my favorite things about galettes is that you can customize them endlessly. When it comes to sweet options, think fresh fruit. My go-tos are ripe peaches, tart apples, or even juicy blueberries mixed with a tablespoon of sugar and a sprinkle of cinnamon. Yum!
You can also get a little fancy and add a little cream cheese or ricotta as a base before layering on your fruits. It adds a creamy texture and makes everything just a little more indulgent. Trust me; it’s a crowd-pleaser!
Don’t forget to brush the edges of the crust with an egg wash before baking. This step gives it that oh-so-golden brown finish that looks impressive even if you’re just making this for yourself. #SelfCare!
Savory Filling Ideas
Not a sweet person? No problem! My savory galettes are where I get creative. One of my favorite combinations is roasted veggies—think zucchini, bell peppers, and a good sprinkle of feta cheese. That salty zing from the feta takes it to a whole new level!
You can also throw in some sautéed mushrooms with garlic and herbs. Seriously, your kitchen will smell amazing, and you’ll feel like a chef in your own right. Just layer your filling in the middle, and don’t skimp!
Another jazzed-up option is a creamy spinach and ricotta filling. This combo is super comforting and filling. It’s like a hug in every bite. Seriously, you might just want to make a double batch!
Seasoning and Toppings
Let’s not forget about seasoning! Nobody wants a bland galette, right? A dash of salt and pepper can do wonders, but you can go further. I love playing around with fresh herbs like thyme or basil to add depth to both sweet and savory fillings.
For sweet galettes, a drizzle of honey or a sprinkle of powdered sugar on top after baking elevates the presentation. For savory versions, consider adding some chili flakes or a squeeze of lemon juice to brighten everything up!
Feel free to get creative with toppings, too. Some toasted nuts or seeds can add both flavor and crunch to your galette. You can never have too much texture in my book!
3. Baking Your Galettes to Perfection
Temperature and Duration
Now that you’ve made your galette, it’s time to bake! Preheat your oven to 400°F (about 200°C). This high temperature will give you that nice crispy crust.
Generally, I find that 25 to 30 minutes is the sweet spot for baking. Keep an eye on it toward the end—it should be golden brown and bubbly. If the edges are browning too quickly, don’t hesitate to cover them with a little foil. You don’t want to ruin your masterpiece!
When you pull it out of the oven, let it cool for a few minutes before serving. This helps everything set a bit, making it easier to slice and enjoy. You’ve earned this moment!
Serving Suggestions
Galettes are fantastic served warm, but don’t underestimate them cold, either! I often find myself snacking on leftover galettes right from the fridge—perfect for a quick bite.
You can serve them alongside a fresh salad for a balanced meal. If you’re feeling fancy, throw on a dollop of crème fraîche or a scoop of ice cream for the sweet ones. They really elevate the overall dining experience!
For a gathering, you might even want to make mini galettes. They’re perfect for appetizers or snacks and will definitely impress your guests. Just make sure you have plenty of napkins on hand—trust me, things can get a bit messy in the best way possible!
Storage Tips
If you happen to have leftovers (even better if you don’t), store them in an airtight container in the fridge. They’ll stay fresh for a couple of days. I like to reheat them in the oven instead of the microwave to maintain that crispy crust!
For longer storage, consider wrapping them up and freezing. Just make sure they are well-sealed to prevent freezer burn. When you’re ready to dig in again, pop them in the oven from frozen; they’ll taste just as good!
Galettes are great for meal prepping, too! Make a few on the weekend, and you’ll have delicious options ready all week long. You’ll thank yourself later when you’re busy and still have a tasty homemade meal on hand.
4. Variations to Explore
Gluten-Free Options
If you or someone you know is gluten-free, no worries! You can definitely make a galette using gluten-free flour. Just substitute whole wheat flour with a 1:1 gluten-free flour blend, and you’re all set.
Keep in mind that gluten-free dough can be a bit more fragile, so be gentle while rolling it out. A little extra care goes a long way, and the end result will be just as delicious!
Experiment with different gluten-free flours like almond or oat flour, too. Each adds its own unique taste and texture. Now, that’s something to get excited about!
Seasonal Flavors
I’m all for embracing seasonal ingredients, and it’s one of the best ways to keep galettes exciting! In spring, go for vibrant veggies like asparagus and radishes. Summer brings an abundance of berries and stone fruits—hello, peach galette!
As fall rolls in, pumpkin, apples, and spices are calling my name. And winter? Don’t overlook roasted root vegetables! They can transform your galette into something hearty and comforting.
By syncing your galette with the seasons, you can experiment with flavors and keep your meals fresh and interesting all year round. It’s like a culinary adventure every time!
International Inspirations
What’s also super cool about galettes is that you can draw inspiration from different cuisines around the world. How about a Mediterranean twist with olives, sun-dried tomatoes, and goat cheese? Or go Asian with some sautéed bok choy and tofu filling; the possibilities are pretty much endless!
You can even play around with spices! Think cardamom and nutmeg for sweet versions or cumin and paprika for savory. This is where your creativity can really shine, and there’s no wrong way to do it.
Don’t hesitate to explore and make it your own. Cooking should be fun, and adding your twist on classic dishes is a great way to connect with your food!
5. Conclusion: Galettes as Part of Your Cooking Routine
Making Galettes a Staple
So, after diving into all these galette goodies, you can probably see why I think they should be a staple in your cooking routine. They’re simple yet impressive, versatile yet satisfying, and can easily be tailored to your taste!
Not only do they shine at family dinners or casual gatherings, but they’re also a fantastic way to enjoy cooking at home on any kind of day. Trust me, once you get the hang of it, you’ll be whipping these up in no time.
And listen, the more you experiment and make galettes, the more you’ll discover what works best for you and your family. So roll up your sleeves, gather your ingredients, and let the galette-making adventure begin!
FAQ
1. Can I use different types of flour for the galette dough?
Absolutely! You can experiment with different flours. Whole wheat, rye, or even gluten-free blends can all work great.
2. How can I store leftover galettes?
Store them in an airtight container in the fridge for a couple of days or wrap them well and freeze for longer storage.
3. What are some good fillings for a galette?
You can fill a galette with sweet fruits like peaches or savory veggies like spinach and feta. It’s all about what you love!
4. Can I make mini galettes for parties?
Definitely! Mini galettes work perfectly as bite-sized appetizers and are sure to impress your guests.
5. What’s the best way to reheat a galette?
The best way to reheat is in the oven. It’ll restore the crispy crust, making it taste freshly baked again!
Related Content
Auto Amazon Links: No products found.


