
Finding the Right Materials
Assess Your Surroundings
First things first, take a look around your house and yard. What do you have lying around that could be repurposed? Old plastic bins, wooden pallets, or even large glass jars can all become fantastic grain storage solutions. I like to keep my eyes peeled while running errands or even when I’m out biking. You’d be surprised what gems you can find, and the best part? It’s all free!
When you gather materials, make sure to check them for sturdiness. Some items might look good on the outside but could be damaged or degraded. I’ve fallen for the trap of picking something that looked decent but ended up crumbling after a few uses. Always give them a good once-over!
Remember, it’s not just about having enough containers; it’s also about having suitable ones. For instance, avoid materials that could leak or interact negatively with your grains. You don’t want any surprises when you finally fill them up!
Cleaning and Preparing Containers
Scrub-a-Dub-Dub!
After you’ve gathered your materials, it’s cleaning time! I can’t stress enough how important this step is. Old containers can harbor dust, pests, or residues from previous contents. Grab some hot, soapy water and a scrub brush; you want these babies spotless before they hold your precious grains!
I like to give my containers a good rinse and then let them dry in the sun for a bit. Not only does the sunshine help eliminate any lingering odors, but it also adds a nice touch of freshness. Make sure to check for any cracks or vulnerabilities while you clean—this is the moment to give them a thorough inspection.
After everything’s dried, consider putting a layer of food-safe sealant if your containers require it. It’s a simple way to ensure your grains stay fresh and are protected from any potential contaminants.
Creating the Ideal Environment
Choosing the Right Spot
Once your containers are ready, you’ll need to find the best place to store them. Ideally, you’re looking for a cool, dry area. I’ve learned from experience that storing grains in warm, humid places is a no-go. It can lead to spoilage way faster than you’d expect.
Consider the layout of your home. I often use cabinets or cool corners of my basement. Just make sure it’s a space where you can easily access your grains when you’re ready to whip something up in the kitchen. You don’t want to forget about them sitting at the back of a dark closet!
Try to keep your containers away from direct sunlight too; UV rays can degrade some materials and may even impact the integrity of the grains. I made that mistake once—never again!
Labeling Your Storage Solutions
Get Creative with Labels
Now that you’ve got your storage containers filled, it’s time to label them! This step is crucial, trust me. When you’re diving into dinner preparations, the last thing you want is to be guessing if that jar has rice or quinoa. I like to get crafty with my labels. Use chalkboard paint or stickers so I can easily change them up if I need to.
Besides just the name of the grain, I sometimes include the date I stored them. It helps keep track of freshness and lets me know when it’s time to use something up. There’s nothing quite like reaching into the pantry and knowing exactly what’s what!
If you’re feeling extra creative, you can even add notes about how you like to use the grain in the kitchen. It’s a nifty reminder when you’re planning meals. Plus, who doesn’t love a little personalized touch in the pantry?
Maintenance and Regular Checks
Keeping an Eye on Things
Regular checks are part of the grain storage game. Even with all the right materials and environment, it’s still essential to peek into your containers every now and then. I usually set a reminder on my phone to check every couple of months.
Look for any signs of pests or spoilage. I once had a bag of oats that went south because I forgot to check. Lesson learned! It’s also a good time to rotate your grains so the older ones get used first. This small action can save you a lot of grain waste.
If you notice a container isn’t sealing well or a lid is rusting, fix it up or replace it. Your grains deserve a happy, safe home, and it’s totally doable with a bit of ongoing care!
FAQ
What type of materials are best for grain storage?
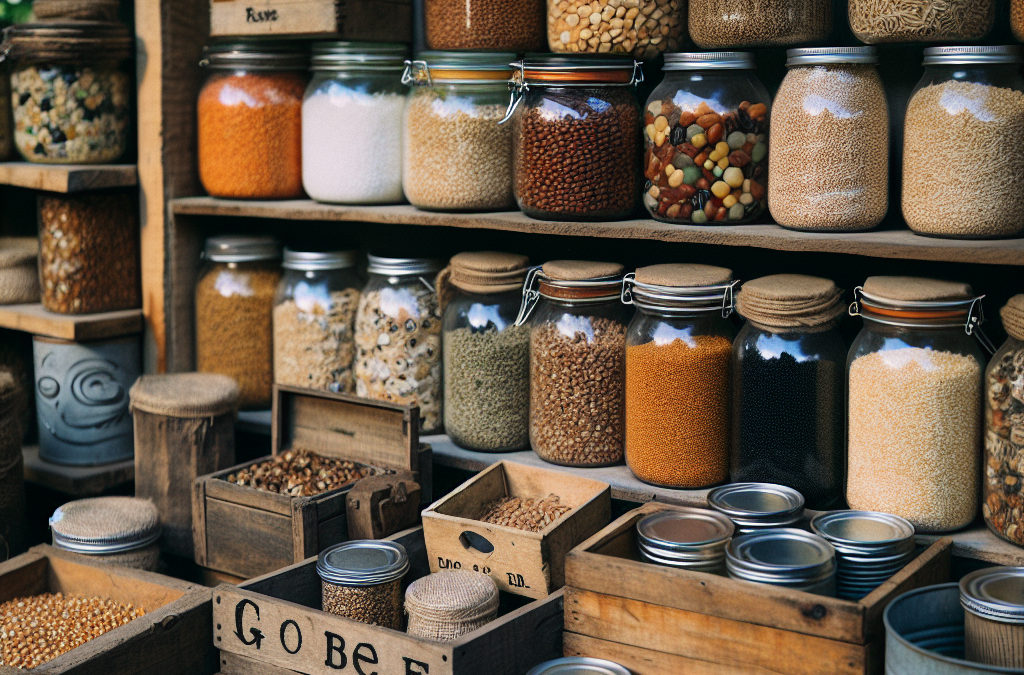
Look for airtight containers made from glass, plastic, or metal. Just avoid anything that might leach toxins into your grains. Repurposed jars, plastic bins, and food-safe buckets are great options!
How do I know when my grains have gone bad?
If you see signs of mold, a strange odor, or bugs, it’s time to toss that grain out. Freshness varies by type, but when in doubt, a sniff test usually helps!
Can I store both dry and wet grains together?
It’s best to keep them separate. Dry grains have different moisture needs compared to wet grains, and keeping them together can affect their quality and longevity.
How often should I check on my grain storage?
I recommend checking every couple of months. Regular inspections can help catch any issues early, ensuring your grains stay fresher longer.
Can I use cardboard boxes for grain storage?
While cardboard can be useful for short-term storage, it’s not ideal for long-term grain storage. It can absorb moisture, leading to spoilage. Stick to airtight containers for the best results.
Related Content
Auto Amazon Links: No products found.


