
Table of Contents
- Proper Packaging Techniques
- Choosing the Right Storage Location
- Preventing Contamination
- Monitoring Storage Conditions
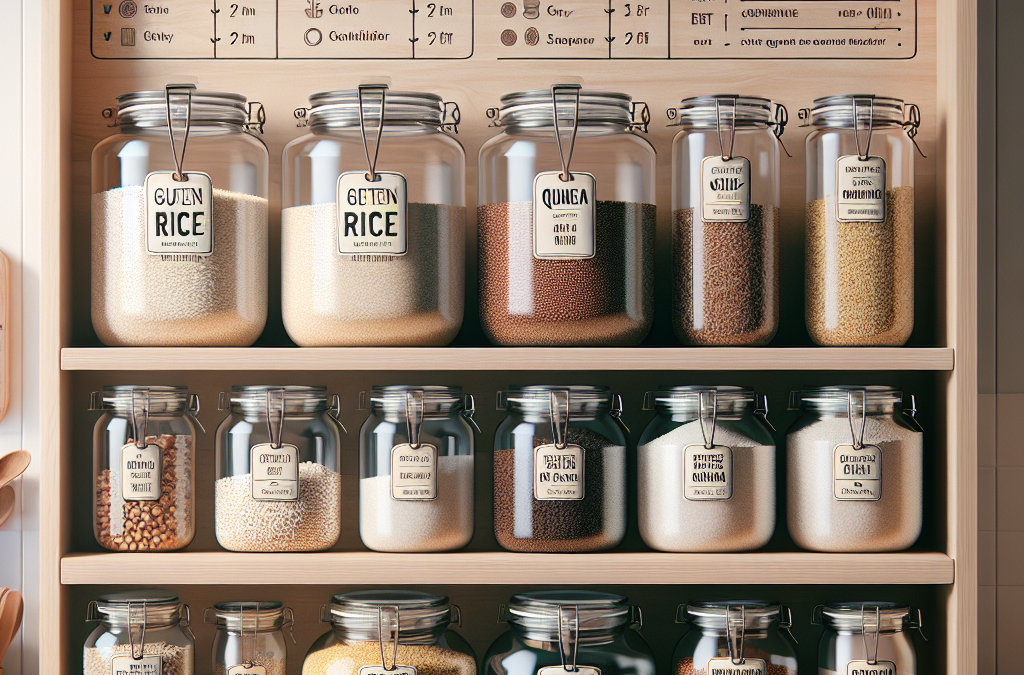
Proper Packaging Techniques
Let me tell you—I’ve been down the rabbit hole of gluten-free grain storage, and packaging is where it all starts. It’s akin to wrapping a gift for a loved one—attention to detail goes a long way. You want to use airtight containers, preferably glass or BPA-free plastic. Glass jars with tight lids are my personal favorites; they don’t just look great on kitchen shelves but also keep those grains as fresh as the day you bought them.
Another tip from my playbook is to always label everything. Trust me, there’s nothing worse than mixing up your quinoa with your millet in a sleepy morning haze. I like to use a label maker for a clean look, but some folks swear by chalk markers or the ever-reliable masking tape. Whatever your style, just make sure it’s clear and visible.
Finally, vacuum sealing can be a game-changer, especially if you tend to buy in bulk. It’s a bit of an investment upfront, but once you see how much longer your grains last, you’ll never look back. The airtight seal not only locks in freshness but keeps all those pesky pests at bay, making your gluten-free lifestyle a whole lot stress-free.
Choosing the Right Storage Location
Now, let’s chat about where to stash those well-packaged grains for maximum longevity. A cool, dark pantry is your best bet here. Heat and light are the sworn enemies of grain freshness, and keeping your grains tucked away in a pantry helps protect them from both. I’ve seen folks use decorative containers on open shelves, but unless it’s a short-term setup, it’s not ideal.
Another consideration is the infamous ‘kitchen traffic.’ If you’re anything like me, your kitchen sees a lot of action, and you don’t want your grains sitting next to the stove or oven where they risk getting warm. Instead, choose a dedicated space that’s away from the heat and hustle—perhaps a corner cabinet or, if you have the space, a separate pantry area altogether.
If pantry space is at a premium, consider going vertical. I’m a big fan of installing a couple of sturdy shelves just for my grains. It keeps them organized and makes for a quick grab when you’re cooking up a storm. Plus, it frees up more cabinet space for pots, pans, and those kitchen gadgets we only use twice a year.
Preventing Contamination
Managing contamination is like being the bouncer for your own grains—nothing uninvited gets in. This is especially crucial if your kitchen isn’t exclusively gluten-free, which is the case for a lot of folks. Start by designating specific zones for gluten-free items, both in your pantry and on your counters. I’ve got some dedicated shelf space in my pantry, clearly marked and separate from everything else.
Cross-contamination can occur easily during meal prep. Always clean the surfaces thoroughly between meals and consider using color-coded utensils if you can. For instance, I’ve got some bright green spatulas and measuring cups that are strictly gluten-free. They’re a small investment with a big payoff in peace of mind and tummy trouble avoidance.
For those times when you’re cooking two types of meals—gluten and gluten-free—using parchment paper as a barrier on baking sheets or countertops can help. It’s one of those hacks that’s simple yet so effective. And when in doubt, a little extra washing and drying of surfaces doesn’t hurt.
Monitoring Storage Conditions
Keeping an eye on the storage conditions is an ongoing job but it’s not as daunting as it sounds. Having a hygrometer in your pantry can be a fun and useful addition—it’s a small device that measures moisture levels in the air. You want to keep those levels below 60% to prevent mold growth and ensure those grains remain in top-notch condition.
Another handy tool is a thermometer, especially if your home tends to get hot during summer months. Optimal storage is anywhere between 50°F and 70°F. If your kitchen gets warmer than that, consider keeping your grains in the coolest part of your house, maybe even in the basement if humidity there can be controlled.
Last but not least, set a monthly check-in reminder. I do this to review expiration dates and inspect my grains for any unwelcome guests or signs of spoilage. This routine helps me avoid any unpleasant surprises and keeps everything in the best condition possible.
Related Content
- How to Choose the Right Silica Gel Packets for Grain Storage
- Grain Storage With Long Shelf Life: Essential Methods for Effective Preservation
- The Ultimate Guide to 10 Effective Long Term Food Storage for Preparedness in 2025
- Preparing Your Family for Disasters
- The Ultimate Guide to the 10 Best Storage Methods for Emergency Food in 2025
Auto Amazon Links: No products found.


