Pest Infestations
Identifying Pests
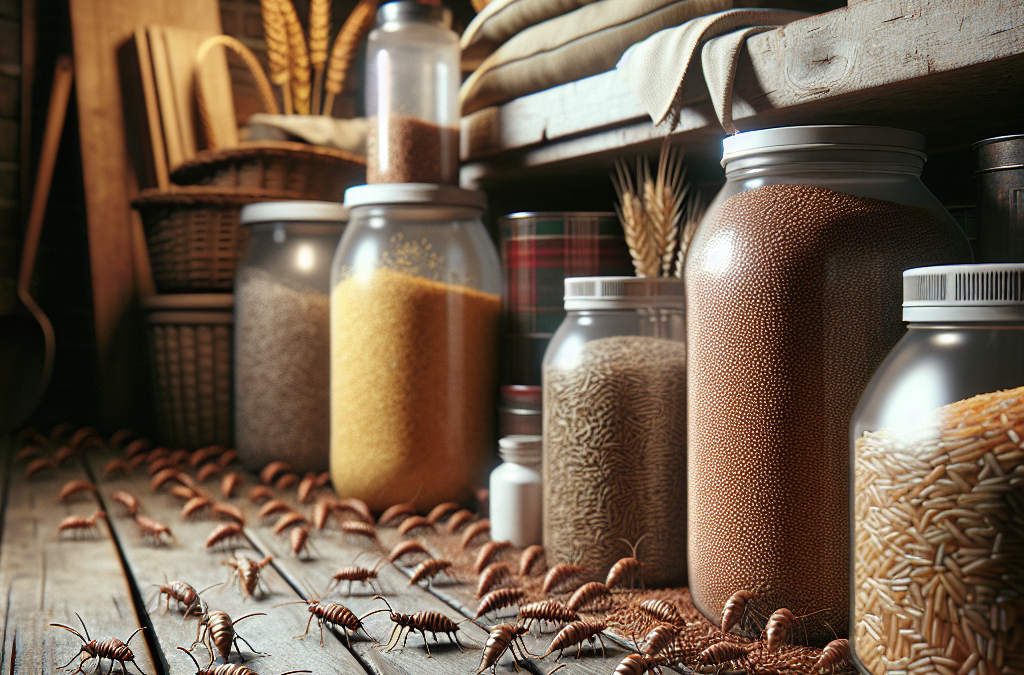
When it comes to storing grains, one of the first things I learned is that pests can be a real nightmare. You might not even notice them at first, but believe me, they can wreak havoc in no time. The most common culprits? Weevils, grain moths, and rodents. Keeping an eye out for any unusual signs, like tiny holes in your grain bags, can be a great first step.
I remember the first time I discovered an infestation. It was like a scene from a horror movie, but within my pantry! Droppings and webbing were everywhere. That’s when I realized how crucial it is to regularly check your stored grains, especially if they’re in big containers. You absolutely don’t want a full-blown invasion.
Another tip I learned is to get familiar with the various types of pests that can invade your grains. Knowing what to look for can help you act fast to contain the problem. Plus, some pests can be more damaging than others, so a little knowledge goes a long way!
Preventing Infestations
Now, let’s talk prevention! I’ve found that the best defense is a good offense. First, make sure that your grain storage containers are airtight. I swear by my vacuum-sealed bags—they’re fantastic. Pests can’t get in, and they keep my grains fresh for ages!
Another biggie is cleaning. Before storing new batches of grains, I always make sure to clean out my containers thoroughly. Any leftover crumbs can attract pests like moths or weevils, which is the last thing you want. I’ve turned cleaning into a ritual—it’s surprisingly satisfying.
Lastly, introducing natural pest deterrents can be a lifesaver. I often tuck away a few bay leaves in with my grains. It’s an old trick, but it works! Plus, they add a delightful aroma to my storage area.
Treating Infestations
So, you’ve spotted pests. What now? First off, don’t panic! It’s actually quite manageable if you act quickly. I start by removing the affected grains immediately to prevent further spread. Typically, I’ll toss out any seriously infested containers—there’s no saving it at that point.
I also like to freeze my grains for a few days. Freezing is a great way to kill off any eggs or larvae hiding, and it’s something I wish I had learned earlier. After thawing, just check them for any remaining signs of life. A quick visual check can go a long way!
After you treat the infestation, ensure deep cleaning of the storage area or container. I usually wipe everything down with a vinegar solution to keep it pest-proof. It’s almost reassuring to know that I’m taking these steps to protect my food supply.
Moisture Issues
Identifying Moisture Problems
Moisture is another enemy of grain storage, and it’s sneaky. It can lead to mold and spoilage, which no one wants. When I started out, I always thought my grains were safe because they looked dry. Then, BAM! A couple of weeks later, I’d find dampness or even worse, mold. Yikes!
A telltale sign of moisture problems is when grains feel sticky or clump together. It’s almost like they’re crying out for help. Checking for signs of condensation inside your storage containers is also super important. If you see droplets, it’s time to take action.
Over time, I’ve learned that keeping an eye on humidity levels in my storage space is key. You can buy a simple hygrometer to measure this. It might seem overboard, but it has saved my grains more times than I can count!
Preventing Moisture Accumulation
My first piece of advice is to make sure your storage area is well-ventilated. I’ve found that using fans or simply storing grains in a dry, airy place helps immensely. It keeps the air fresh and prevents moisture from settling in.
Another tip that has worked wonders for me is using desiccants—those silica gel packs work great! I toss a few in my containers, and they help absorb any excess moisture. It’s such a small step, but it really makes a difference.
Also, make sure to store grains in well-sealed containers. I learned the hard way that clear or light, flimsy storage just doesn’t cut it. Heavy-duty plastic or glass containers are the way to go. They’re not just stronger; they help maintain better air quality too.
Dealing with Moisture Damage
If moisture damage has already occurred, it’s time to get serious. First, you’ve got to assess the damage. Sometimes, just a surface layer of mold can be removed to save the rest. I’ve often done this just by scraping off the bad spots and tossing what’s beyond repair.
For grains that have soaked up too much moisture, I usually lay them out on a tray to dry in a warm, sunny area. Sunlight is a natural enemy of mold! Just keep an eye on them and rotate regularly to avoid uneven drying.
All in all, after your grains are nice and dry, make sure to clean the storage area thoroughly before putting everything back. Use a vinegar solution or a mild bleach solution to disinfect. It helps to prevent future moisture issues, which is always a win in my book!
Inadequate Temperature Control
Recognizing Temperature Problems
The temperature of your storage space can be a game changer. I did a bit of experimenting and found that grains kept at stable temperatures tend to last much longer. So, if you notice your storage area getting too hot or too cold, it’s time to take action.
Those sneaky temperature fluctuations can really mess with the shelf life of your grains. I remember one winter, my grains froze solid, and upon thawing, they didn’t quite have the same quality. It’s all about finding that sweet spot—ideally, around 60°F to 70°F.
If you’re in a place with significant seasonal temperature swings, like I am, consider installing a thermometer. It’s a small investment, but it gives me peace of mind knowing I can keep track of the situation with just a glance.
Get Whole Wheat Flour, Grains and Milling Supplies – CLICK HERE
Creating a Stable Environment
The key here is insulation! I’ve found that insulating my storage area effectively has helped immensely in temperature regulation. Adding some foam board insulation or simply keeping containers wrapped or covered can help maintain those ideal temperatures.
Using a heater or fan can also help stabilize the space. When summer rolls around, I always make sure to keep a fan running to avoid any overheating. It’s especially important if your grain storage is in a shed or uninsulated room.
Another effective strategy I use is to store my grains in a cooler place in my home. If you’ve got a basement or a temperature-controlled pantry, those are gold mines for grain storage. It helps to keep things consistent, especially in fluctuating climates.
Adapting to Temperature Changes
If you do experience temperature-induced damage, don’t fret just yet. First thing’s first: check your grains. If they’ve just been exposed to a temperature swing for a short period, they might still be salvageable. I usually store them properly again and keep them in a more stable environment.
If you find your grains have clumped together or have become discolored, it might be time to toss them. But don’t lose hope! Often, properly dried grains can bounce back if you give them the right treatment.
In the long run, investing in a moisture and temperature monitor has been a game-changer for me. It gives real-time readings, and I can adjust my storage methods accordingly. Peace of mind when storing food? Priceless!
Contamination from External Sources
Identifying Contamination Risks
Contamination is a sneaky problem that can often go unnoticed until it’s too late. I’ve learned really quickly that external sources can introduce mold, pests, and even chemicals into my grain storage. It’s essential to ensure everything entering my storage area is clean.
When I started taking inventory of my storage, I found that improper handling of bulk grains was a huge risk. Always store grains with clean hands, and avoid touching them unnecessarily. This sounds basic, but every little bit helps!
If you’re getting grains in bulk from a supplier, make sure to inspect the packaging and area around it. Damaged bags can invite all sorts of contamination, and I once learned this lesson the hard way. It’s not worth taking that risk when it comes to your food!
Preventing Contamination
I’ve found that maintaining cleanliness is key. I regularly clean my storage area, and it’s become part of my routine. A quick wipe down and organizational overhaul go a long way in keeping things tidy and contamination-free.
Another effective way to prevent contamination is by sealing all my grain containers tightly. Whether I’m using jars, bags, or bins, ensuring they’re airtight prevents anything from getting in. I encourage everyone to invest in quality storage—a little up front saves a lot of hassles down the road!
Storing grains away from any chemicals or strong scents is also important. I’ve learned not to store grains near household cleaners, paints, or any potential contaminants. It just makes sense to keep them separate for better quality grains.
Dealing with Contaminated Grains
If you’ve discovered contamination, it’s time to act fast! Start by isolating the affected grains. It’s not worth the risk to mix them with your good stuff. I usually dispose of these immediately—no second chances when it comes to food safety!
Next, give the entire storage area a thorough cleaning. I like to use hot soapy water or vinegar solutions for this job. It removes any lingering threats that could affect your safe grains in the future.
In summary, once you’ve cleaned and organized, take a moment to reflect on your storage habits. Learning from mistakes is crucial, and incorporating these steps into my routine has saved me from similar mistakes down the line.
FAQ
1. What are the most common pests found in stored grains?
The most common pests include weevils, grain moths, and rodents. Regular inspections can help catch these pests early on!
2. How can I prevent moisture in my grain storage?
To prevent moisture, ensure proper ventilation, use desiccants, and store grains in airtight containers.
3. What temperatures are optimal for grain storage?
Grains generally do best at temperatures between 60°F to 70°F, avoiding both extreme heat and cold.
4. How can I detect contamination in my grains?
Look for signs like unusual odors, discoloration, or any visible mold or pests when inspecting your grains regularly.
5. What should I do if I find contaminants?
Isolate the contaminated grains, dispose of them safely, and thoroughly clean your storage area to prevent future issues.
Get Whole Wheat Flour, Grains and Milling Supplies – CLICK HERE
Related Content
Auto Amazon Links: No products found.