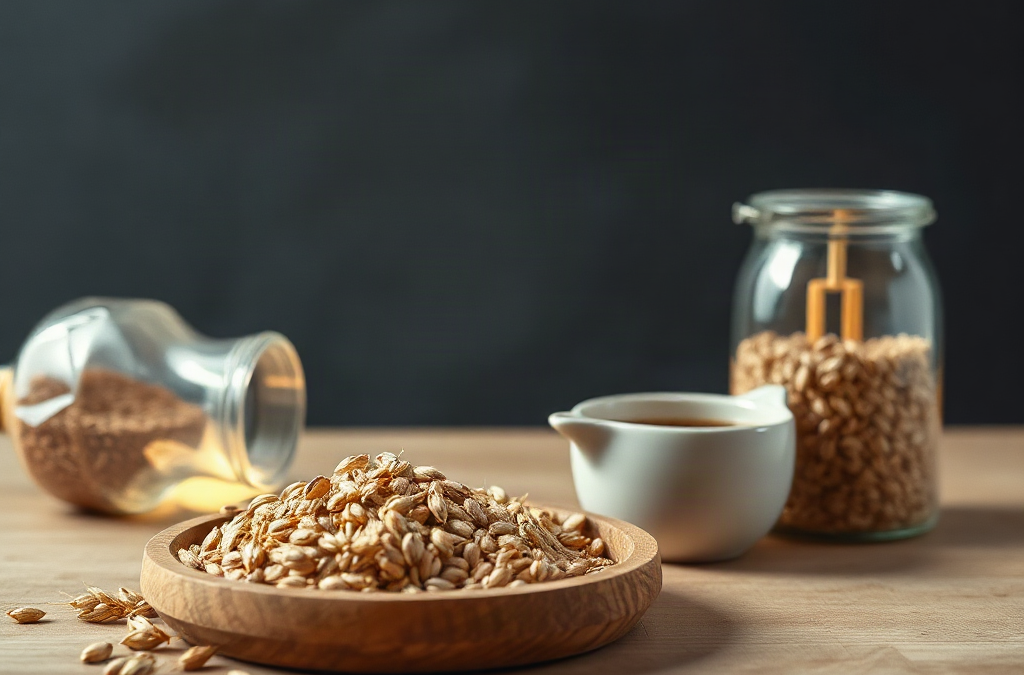
Wheat mill cleaning after processing whole grains should begin with unplugging the mill, letting hot components cool, and removing loose flour, bran, and kernel fragments with dry tools. Brush or vacuum the hopper, milling chamber, adjustment area, flour chute, and exterior seams before residue absorbs humidity or attracts pests. Use water only on manufacturer-approved removable parts, because moisture inside stones, burrs, bearings, or motor housings can cause corrosion, swelling, or microbial growth. Inspect airflow openings and contact surfaces before reassembly, then store the mill dry, open, or loosely covered according to its manual.
What Should Happen Immediately After Milling?
The first cleanup should happen as soon as the milling session ends and the machine has safely stopped. Fresh residue is easier to dislodge than flour that has settled into seams or absorbed kitchen humidity. Disconnect an electric mill from power before opening any accessible chamber, removing a hopper, or placing a brush near moving parts. A hand-cranked model should likewise be secured so the handle and burrs cannot turn unexpectedly.
Allow the milling mechanism to cool before handling it. Whole-grain wheat contains bran and germ oils, and milling can leave a warm film of fine particles on burrs, stones, screens, and flour chutes. Cooling does not mean leaving the dirty mill closed overnight. Instead, wait until the parts are comfortable to touch, then open only those areas the manufacturer identifies as user-accessible. The manual takes priority over a general routine because stone, steel-burr, impact, and roller-style home mills are assembled differently.
Empty the hopper and collect any intact kernels before brushing. A few kernels trapped beside an adjustment plate can interfere with the next setting, while fragments remaining in a chute may become stale and affect the smell of a later batch. If the mill permits it, briefly running a small final quantity of clean, dry wheat can help move residual flour through the normal path. That technique is not a substitute for brushing, and it should not be used when the mill sounds obstructed or the manual advises against running it empty or nearly empty.
A practical immediate sequence is:
- Stop and disconnect: Turn the machine off, unplug it, and prevent accidental movement.
- Cool and empty: Remove remaining kernels and let the milling surfaces lose retained heat.
- Open approved access points: Remove only hoppers, screens, covers, or collection parts intended for routine handling.
- Capture loose residue: Brush or vacuum from the top downward so flour does not fall onto an area already cleaned.
- Check before closing: Look for packed bran, damaged components, unusual odors, or evidence of moisture.
The common failure is postponing cleanup because the mill appears nearly empty. Fine flour can remain behind adjustment knobs, around shaft openings, and inside outlet corners even when the visible chamber looks clean. Prioritize the grain path and narrow ledges rather than polishing the housing first. A clean exterior is useful, but it does not reveal whether food residue remains inside.
How to Remove Flour and Bran Without Water
Dry cleaning is the safest default for most fixed milling components. Use a clean, stiff-bristled brush sized for the chamber, a smaller detailing brush for seams, and a vacuum with a crevice attachment where the manufacturer allows it. Brushes should be dedicated to the mill so they do not introduce grease, detergent, or workshop debris onto food-contact surfaces.
Start at the hopper and follow the same route the wheat travels. Sweep flour toward an opening rather than forcing it farther behind a burr or bearing shield. On a stone mill, use light strokes to lift powder from exposed grooves without scraping or chipping the stone. On a steel-burr mill, brush between the teeth while watching for compacted bran. An impact mill may retain dust around screens and airflow passages, but its internal assembly may not be intended for routine disassembly. Access only the locations described in its instructions.
Vacuuming controls airborne dust better than blowing. Compressed air can drive flour into motor vents, bearings, switches, or the room, and a high-pressure stream may disturb seals or fine adjustments. A household vacuum is useful for cool, dry residue, although its nozzle should not strike stones or burr edges. Keep suction modest around lightweight screens and gaskets. If flour dust becomes airborne, pause and let it settle rather than continuing to scatter it.
Water should not be the automatic response to flour buildup. Porous stones may retain moisture, uncoated metal can corrode, and damp flour left in a hidden recess can form a paste that is harder to remove than dry powder. Never immerse a motorized mill body. Removable bowls, hoppers, or collection bins may be washable if their manual says so; wash those separately and let them dry completely before they return to the machine.
A slightly damp cloth can be appropriate for an approved exterior surface, followed immediately by a dry cloth. Keep moisture away from ventilation slots, switches, adjustment openings, and the milling chamber. Strong fragrances and cleaner residues can transfer to flour, so food-contact parts should not receive household sprays unless their care instructions explicitly permit a suitable product.
The cleaning is working when the brush stops lifting visible powder, outlet corners feel dry, and no stale or musty odor remains. It is failing when residue smears instead of dusting away, flour repeatedly appears from behind a cover, or the adjustment mechanism feels gritty. Those signs call for closer inspection rather than more force.
When Does a Wheat Mill Need Deeper Cleaning?
A deeper cleaning is warranted when routine brushing no longer clears residue, the mill has been used for an oily or strongly flavored material permitted by its manufacturer, or it will be stored for an extended period. Frequency should follow use conditions rather than an arbitrary calendar. A mill used weekly in a humid kitchen needs closer checks than one used occasionally in a dry room and cleaned promptly after every batch.
Whole wheat leaves more than white flour dust. Bran flakes can lodge at outlet transitions, while germ oils may create a film that holds finer particles. If residue feels tacky, do not scrape aggressively with a knife or metal pick; that can score food-contact surfaces, alter burr edges, or damage a screen. Remove approved detachable pieces and work with non-marring tools. Parts that cannot be reached without dismantling the drive assembly are usually better left to the manufacturer’s service procedure.
Cross-contact also affects the decision. Milling another grain after wheat may require more than a quick visible sweep when the flour is being prepared for someone who must avoid wheat. Household mills often contain inaccessible spaces, and ordinary cleaning cannot be assumed to remove every trace. A dedicated mill may be the more dependable option where strict allergen separation is necessary. Cleaning improves residue control, but it should not be represented as validated allergen decontamination.
Watch for conditions that indicate service rather than cleaning:
Get Whole Wheat Flour, Grains and Milling Supplies – CLICK HERE 
- Grinding, scraping, or knocking sounds that continue after loose kernels are removed
- Cracks, chips, rust, frayed wiring, loose screens, or damaged seals
- A burning odor, repeated overheating, or reduced airflow through the machine
- Persistent musty odor or suspected moisture in an inaccessible internal area
- Changes in flour texture despite using the same wheat and adjustment
Consider a practical scenario: a stone mill produces normal flour during one session but runs warmer and leaves coarse particles during the next. The cause might be packed material, an incorrect setting, unsuitable grain moisture, or wear; washing the stones without diagnosis could make the problem worse. Disconnect the unit, perform the approved dry cleanup, verify that the wheat is sound and dry, and consult the manual’s troubleshooting procedure. If performance remains abnormal, stop using the mill until its condition is clarified.
The weak assumption is that deeper cleaning means broader disassembly. Extra dismantling can disturb alignment and may affect warranty coverage. Deep cleaning should mean a more careful inspection and thorough treatment of approved removable components—not automatically opening the motor, bearings, or factory-set milling assembly.
How to Inspect, Reassemble, and Store the Mill
Reassembly should begin only after every cleaned component is visibly dry and at room temperature. Examine mating surfaces, tabs, seals, screens, and fasteners before putting them back. Flour trapped beneath a gasket can prevent an even fit, while a screen installed backward may restrict flow. Compare the arrangement with the manual or a photo taken before disassembly rather than relying on memory.
Check the milling surfaces under good light. Uniform coloration is less important than the absence of packed material, corrosion, cracks, or unexpected wear. Rotate a manual mechanism slowly if the instructions permit, feeling for smooth movement without forcing it. For an electric unit, do not place fingers or tools into the grain path and then energize the machine. Covers, hoppers, and collection containers should be seated before any operational check.
A brief test with a small amount of clean wheat may confirm that the mill feeds normally and produces the expected texture. Discard that test flour if it contains loosened old residue, cleaning fibers, or an off odor. Stop immediately if the mill vibrates unusually, emits a hot electrical smell, or changes pitch sharply. Running a questionable machine longer to see whether it clears itself can turn a minor obstruction into damaged stones, burrs, screens, or drive components.
Storage conditions determine whether a successful cleaning lasts. Keep the mill in a dry area away from steam, sink splashes, insects, and open grain containers. Do not wrap a recently cleaned machine tightly in plastic if any possibility of retained moisture remains. Depending on the design, a breathable cover can keep dust off while allowing ventilation. Store removable collection vessels dry and avoid leaving flour in them between sessions.
The power cord should be loosely arranged rather than sharply bent around the housing. Keep adjustment controls in the position recommended by the manufacturer; some mechanisms should not remain clamped tightly together during storage. Brushes and mill-only tools should be cleaned, dried, and stored nearby in a closed container so the next routine does not begin with a contaminated utensil.
A simple maintenance note can record the grain milled, unusual sounds, cleaning performed, and any parts removed. This is more useful than an elaborate schedule because it reveals changes across repeated sessions. If flour output gradually becomes coarser or cleanup produces increasing amounts of metal-colored dust, the record provides a clear reason to stop and investigate. The final check is functional, not cosmetic: the mill should be dry, correctly assembled, free of old material, and ready to operate without hidden residue or forced movement.
Frequently Asked Questions
Should a wheat mill be cleaned after every use?
Remove loose flour, bran, and kernel pieces after each milling session. A more extensive cleaning can be based on residue, frequency of use, storage duration, and the manufacturer’s instructions.
Can water be used inside a grain mill?
Do not put water into the milling chamber unless the manual explicitly permits it. Wash only approved removable parts, and dry them completely before reassembly.
Is it safe to use compressed air to clean flour dust?
Compressed air may force dust into bearings, vents, switches, or inaccessible seams. A brush and carefully controlled vacuum are generally better for collecting dry residue.
How can stale odors be removed from a wheat mill?
Disconnect the mill, remove accessible residue, and clean approved detachable parts according to the manual. A persistent rancid or musty odor may indicate contamination in an inaccessible area that needs service.
Can cleaning make a wheat mill safe for gluten-free flour?
Routine household cleaning cannot be assumed to remove every trace of wheat from internal spaces. Where strict wheat avoidance is required, a dedicated mill is generally more dependable than shared equipment.
Conclusion
A dependable mill routine focuses first on the places wheat actually travels: the hopper, milling surfaces, screens, adjustment area, and outlet. Remove dry residue promptly, keep water away from unapproved components, and treat unusual heat, odors, noises, or texture changes as inspection signals rather than reasons to scrub harder. Deep cleaning should remain within the disassembly limits set by the machine’s manual.
Before the next batch, verify that washable parts are fully dry, guards and screens are correctly seated, and the mechanism moves as intended. Store the mill away from humidity, pests, and loose flour, with dedicated brushes close at hand. A short maintenance record makes gradual changes easier to recognize. If cleaning does not restore normal operation—or if cracks, corrosion, electrical odors, or internal moisture appear—stop using the mill and follow the manufacturer’s service guidance.
Get Whole Wheat Flour, Grains and Milling Supplies – CLICK HERE
Auto Amazon Links: No products found.