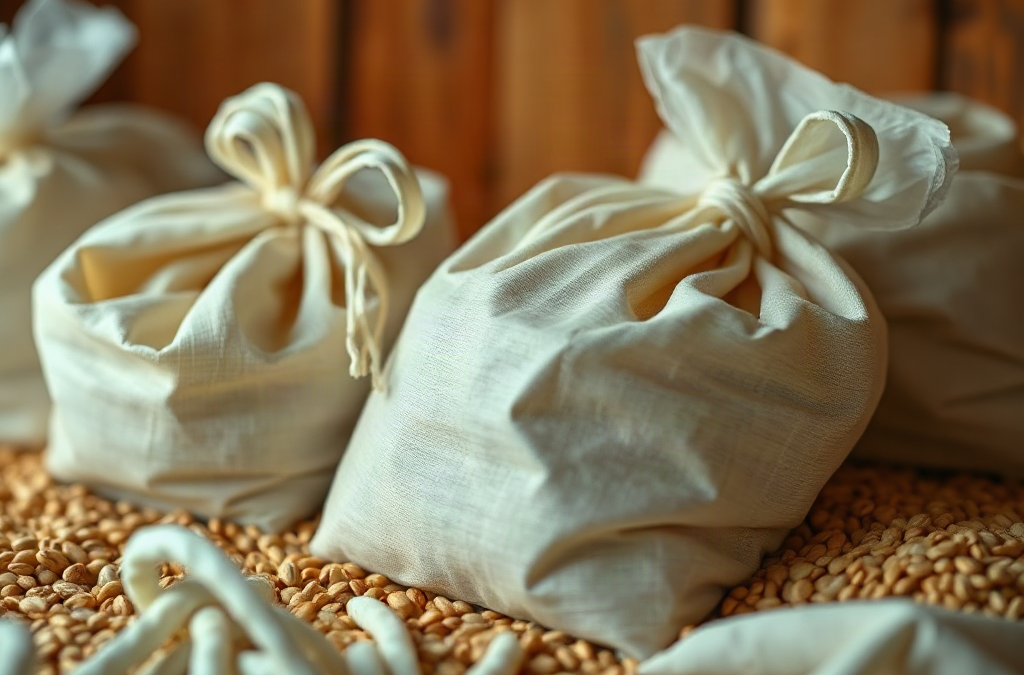
Keep grain spawn bags physically separate from household grain reserves because mushroom substrate is intentionally moist, biologically active, and more likely to harbor mold, insects, or damaged packaging than dry food stores. Place sealed spawn bags in a dedicated cultivation area with washable surfaces, controlled temperature, and no shared shelving or handling tools. Household grain should remain in dry, food-grade containers protected from condensation and pests. Inspect spawn for broken seals, sour odors, unexpected colors, or leaking moisture, and isolate questionable bags immediately rather than opening them near edible grain.
Why Do Spawn and Food Grain Need Separate Zones?
Grain spawn and edible grain have opposing storage needs. Spawn consists of hydrated, sterilized grain that has been inoculated with mushroom mycelium. It remains biologically active and is commonly held under conditions that allow the culture to develop or remain viable. Household wheat, rice, oats, corn, and similar reserves should instead stay dry, stable, and protected from organisms that consume or spoil food.
That moisture difference drives much of the risk. A sound spawn bag is a contained cultivation unit, but a weak seal, pinhole, damaged filter patch, or split seam can release damp material or admit competing organisms. Condensation may collect around a warm cultivation space, while spilled kernels can attract insects. Dry grain stored nearby may then be exposed to a more humid microclimate or to pests moving between packages.
Separation also prevents handling errors. Spawn grain is not interchangeable with grain held for cooking, even when the kernels look familiar. It may have been hydrated, pressure sterilized, inoculated, supplemented, or handled under a cultivation process that was never intended to produce ready-to-eat food. A clear boundary makes it less likely that an unlabeled bag will be mistaken for pantry stock or that a scoop used for food will touch cultivation material.
Consider a utility-room shelf holding wheat buckets on the bottom and colonizing spawn above them. If a spawn bag leaks, moisture and loose kernels can fall onto bucket lids, seams, or the floor around the food supply. The buckets may remain intact, but the arrangement creates avoidable cleanup and pest pressure. Putting the spawn on a washable rack in another area contains the problem at its source.
A common misconception is that an apparently clean, white spawn bag poses no concern. Healthy-looking mycelium does not make shared storage desirable. Contamination may begin inside a bag before discoloration or odor becomes obvious, and physical damage can occur during routine movement. Treat separation as an ordinary control measure rather than a response reserved for visible mold.
The practical priority is to divide the two activities by purpose: food reserves belong in a dry food-storage zone, while spawn belongs in a cultivation zone. Labels, dedicated shelves, and separate tools reinforce that boundary, but none of them compensates for damaged food packaging or poor moisture control.
How Much Separation Is Practical?
A different room is preferable when the home layout allows it, particularly while spawn is actively colonizing or when several bags are being handled. Physical walls and a closable door limit accidental contact, simplify cleaning, and keep cultivation humidity from influencing dry stores. A basement work area, enclosed utility space, or dedicated growing room may work if it is clean, dry around the exterior of the bags, and not subject to uncontrolled heat or dampness.
Distance alone is not a reliable standard. Ten feet within one humid, pest-prone room may provide less protection than two enclosed cabinets in separate functional zones. The useful question is whether a spill, leaking bag, insect problem, or cleaning task in the spawn area could reach food containers. If the answer is yes, the boundary needs improvement.
Small homes may not offer a separate room. In that case, use different enclosed cabinets or shelving units positioned as far apart as the room permits. Keep spawn below rather than above food so a leak cannot drip onto reserves, and place the bags in a rigid, washable tray that can catch loose grain. This is a compromise, not an invitation to store open food packaging nearby. Edible reserves should remain in closed food-grade containers with sound lids.
| Available Space | Preferred Arrangement | Main Limitation to Watch |
|---|---|---|
| Separate rooms | Spawn behind a closable door; food in a dry pantry or storeroom | Shared tools or traffic can still bridge the zones |
| One utility room | Separate enclosed cabinets or distant racks with a catch tray | Humidity, insects, and airborne dust remain shared |
| Single storage rack | Use another location if possible; otherwise enclose both categories separately | A leak or mix-up is harder to contain |
Temperature requirements can create another tradeoff. Moving spawn away from pantry grain should not mean placing it beside a furnace, in direct sun, or in a space with temperature swings that damage the culture. Likewise, shifting household reserves to a garage may expose them to condensation, rodents, or heat. Choose two suitable zones rather than protecting one category by creating poor conditions for the other.
The arrangement is working when exterior surfaces stay dry, food containers remain clean and pest-free, spawn can be inspected without moving pantry goods, and cultivation cleanup never takes place over food reserves. It is failing when condensation appears, bags must be stacked against food buckets, tools migrate between zones, or spilled kernels remain where pests can find them.
Storage Setup and Handling Checklist
A dependable setup controls packaging, surfaces, tools, and movement together. Begin by clearing the proposed cultivation shelf and checking for water stains, condensation, insect debris, sharp edges, and unstable supports. A shelf that tears a bag or cannot be wiped clean defeats the purpose of moving spawn away from food.
Place intact spawn bags upright when their construction and cultivation method permit, without crushing filter patches or forcing bags against rough walls. Avoid overcrowding that hides leaks and prevents visual inspection. A shallow rigid tray beneath the bags contains loose kernels and makes it easier to remove one questionable unit without disturbing the rest.
Household grain needs its own packaging strategy. Paper sacks and thin retail bags offer limited protection against moisture and pests, especially for longer holding periods. Transfer reserves to clean, dry, food-grade containers appropriate to the grain and expected storage duration. Label each container with the contents and packing date. Labels should identify spawn separately by mushroom species or strain, inoculation date, and intended cultivation use so the two inventories cannot be confused.
Use the following compact checklist when setting up or reviewing the spaces:
Get Whole Wheat Flour, Grains and Milling Supplies – CLICK HERE 
- Assign zones: Mark one area for mushroom cultivation materials and another for edible reserves.
- Protect food: Confirm that grain containers are dry, closed, labeled, and free of cracks or warped lids.
- Contain spawn: Keep bags on a washable surface or tray and away from sharp objects.
- Separate equipment: Reserve gloves, trays, cutting tools, and cleanup cloths for cultivation work.
- Control traffic: Handle food reserves before cultivation work, or wash hands and change soiled outer layers before returning to food storage.
- Inspect routinely: Look at bag seams, filter patches, shelving, floors, and nearby walls without opening the bags.
Separate tools matter because contact can move damp residue, grain dust, insects, or microorganisms between areas. Color-coded trays or clearly labeled bins are more reliable than expecting everyone in a household to remember which unmarked cloth or scissors belongs where. If equipment must be shared, clean it thoroughly and allow it to dry before it returns to the food zone.
Do not attempt to create sterile household grain storage. That goal is unrealistic and unnecessary. The useful objective is dry, contained food protected from cultivation materials and pests. Conversely, excessive use of sprays or fragranced cleaners near filter patches may create another problem for spawn. Clean shelves with an appropriate method, let surfaces dry, and keep chemical containers away from both food and active cultures.
The frequent failure mode is building a neat arrangement and then abandoning the workflow. Empty bags, used gloves, spilled kernels, and unlabeled jars gradually erase the boundary. A short inspection tied to ordinary inventory checks is more useful than an elaborate system that no one maintains.
What Warning Signs Require Immediate Action?
Broken packaging, escaping moisture, pest activity, or unexpected growth warrants prompt isolation. Do not open a suspicious spawn bag beside household grain to identify the problem. Move the closed bag carefully into a washable secondary container, take it away from the food-storage zone, and follow the spawn supplier’s or cultivation method’s disposal guidance.
Possible warning signs include split seams, punctures, a detached or wet filter patch, pooling liquid, strong sour or rotten odors detectable without opening the bag, and colors or textures inconsistent with the expected mushroom culture. Appearance varies among mushroom species and stages, so a single visual feature should not be treated as a universal diagnosis. When uncertain, keep the unit sealed and consult reliable cultivation information specific to that species and spawn source.
The surrounding area deserves attention after a leak. Remove loose kernels without sweeping dust toward food containers. Clean the tray and shelf, allow them to dry, and inspect adjacent walls, floors, and packages. Check edible-grain containers for residue, gnaw marks, insects, damaged seals, dampness, or unusual odors. An intact hard-sided container may only need exterior cleaning, while grain inside compromised or wet packaging requires a more cautious assessment.
Do not salvage visibly contaminated spawn by removing a discolored portion and returning the bag to the rack. Growth visible at one point does not establish the full extent of contamination within hydrated grain. Opening it can also spread material around the room. Isolation protects the remaining spawn as well as the household reserve.
Pests require a broader response than discarding one bag. Flour beetles, moths, rodents, or other stored-product pests can exploit spilled kernels and move through a shared room. Inspect both zones, remove food debris, close access points where practical, and assess every package. Avoid applying pesticides directly to food containers or cultivation bags unless the product label expressly permits the intended use and location.
Signs that corrective action has worked include dry cleaned surfaces, no new insects or droppings, intact remaining bags, and no further odor or leakage. Continuing condensation, repeated bag failures, or recurring pests indicates a room-level issue rather than a single defective bag. At that point, relocate the spawn or food reserves and address moisture, shelving, packaging, or building access before rebuilding the arrangement.
Frequently Asked Questions
Can sealed grain spawn bags stay in the same room as food grain?
Separate rooms are preferable. If space prevents that, use different enclosed cabinets or distant shelving, keep spawn in a washable catch tray, and store edible grain in sealed food-grade containers.
Should spawn bags be stored above or below household grain?
Never place spawn above food reserves. If both must occupy one room, keep spawn lower and well away so leaking moisture or kernels cannot fall onto food containers.
Can the same scoop or gloves be used for spawn and edible grain?
Dedicated equipment is the safer, clearer choice. Shared tools can transfer damp residue, dust, or pests; if sharing is unavoidable, clean and fully dry them before food use.
What should I do with a leaking spawn bag?
Keep it closed, place it in a washable secondary container, and remove it from the food area. Clean and dry the shelf, then inspect nearby packages for moisture, residue, or damage.
Is white growth in a spawn bag always safe?
Expected mycelium is often white, but color alone cannot confirm a healthy culture. Check for damaged seals, unusual odors, excess liquid, or unexpected textures, and keep doubtful bags isolated.
Conclusion
Build the boundary around how the materials behave: spawn is moist and biologically active, while reserve grain needs a dry, stable environment. A separate room offers the clearest control, but enclosed cabinets, hard-sided food containers, washable spawn trays, and dedicated tools can improve a space-limited arrangement.
Start by inspecting packaging and shelving rather than relying on distance alone. Remove sharp edges, label both inventories clearly, and make sure cultivation work never occurs over edible supplies. Treat leaking bags, unusual growth, odors, condensation, or pests as reasons to isolate first and investigate second. If problems recur, reconsider the room itself; persistent dampness or pest access cannot be corrected by reorganizing packages. The next practical step is a zone-by-zone inspection of seals, lids, surfaces, tools, and spill paths.
Get Whole Wheat Flour, Grains and Milling Supplies – CLICK HERE
Auto Amazon Links: No products found.