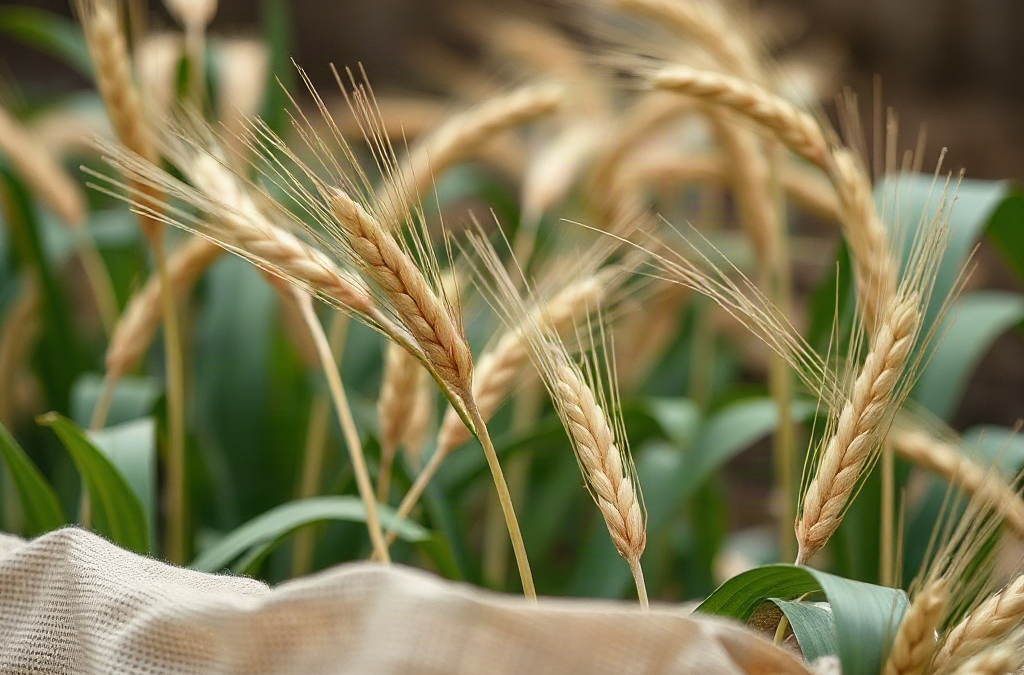
Growing wheat for dependable household grain reserves works best when planting dates, locally adapted seed, weed control, harvest readiness, and dry storage are treated as one connected system. Choose winter or spring wheat according to local climate, estimate household needs in pounds rather than field area alone, and begin with a manageable test plot. Plant into a firm, well-drained seedbed at the rate and depth recommended for the variety and equipment. Harvest only after kernels have hardened, then thresh, clean, and verify moisture before storage.
Which Wheat Fits Your Climate and Growing Season?
A dependable crop begins with a wheat class that can complete its life cycle under local winter temperatures, rainfall patterns, and summer heat. Winter wheat is sown in autumn, establishes before cold weather, and resumes growth in spring. Spring wheat is planted after winter and matures later in the same growing season. That distinction affects field timing, weed pressure, water demand, and exposure to heat during grain filling.
Winter wheat often uses cool-season moisture efficiently and covers the soil during months when a garden might otherwise be bare. It must receive enough cold exposure to flower normally, however, and varieties differ in winter hardiness. Spring wheat avoids overwintering losses but may encounter rising temperatures or dry conditions as heads develop. In mild climates, locally recommended winter types may be the practical choice; in areas with severe winters or short autumn planting windows, a spring type may be easier to establish.
Seed labels deserve close attention. Hard red wheat is commonly selected for yeast breads because its grain generally produces stronger dough than soft wheat. Soft wheat is more often suited to cakes, biscuits, crackers, and similar foods. Durum is associated with pasta but has its own climate and milling requirements. A household that mainly bakes sandwich loaves has a different reserve objective from one that primarily cooks wheat berries or makes flatbreads.
| Decision | Winter Wheat | Spring Wheat |
|---|---|---|
| Planting window | Autumn, with establishment before dormancy | Early spring when soil can be prepared |
| Main constraint | Winter survival and correct autumn timing | Heat or drought during later development |
| Useful situation | Reliable autumn establishment and suitable cold exposure | Severe winters or a missed autumn window |
Purchase named, clean seed rather than assuming grocery wheat will perform well. Food grain may have uncertain germination, an unknown adaptation zone, or mixtures that mature unevenly. Local extension variety trials, regional seed suppliers, and experienced grain growers can identify cultivars tested under nearby conditions. Organic seed may fit a particular production goal, but the label alone does not establish local adaptation or disease resistance.
A common mistake is choosing by grain color or culinary description while ignoring maturity date and regional disease pressure. Test two locally plausible varieties in small, clearly marked strips during the first season. Record emergence, winter survival where relevant, lodging, head maturity, and cleaned yield. Those observations provide more decision value than expanding an untested variety across the entire available area.
How Much Wheat Should You Plant for a Household Reserve?
Plan the reserve by edible grain weight, then work backward to field area using conservative local yield expectations. Acreage by itself is a weak planning measure because soil fertility, stand density, weeds, weather, birds, threshing losses, and cleaning losses all affect the amount that reaches a container. A small plot with an even stand can produce more usable grain than a larger, poorly managed planting.
Start with household use records. Weigh the wheat berries or flour used for several ordinary weeks, separating routine consumption from occasional baking. Convert that amount into an annual estimate, then decide how many months the homegrown reserve is intended to cover. Include grain reserved for seed, plus a realistic margin for losses. Do not count every harvested head as food: seed selection, winnowing, handling, and imperfect kernels reduce the final amount.
The most defensible first-year method is a measured trial plot. Harvest and process that area separately, weigh the clean grain, and calculate yield per square foot or per row length. Use the result to size the following season rather than relying on broad yield claims developed for commercial fields. For example, a household using grain mainly for weekend bread may need far less land than one milling flour daily. The trial also exposes whether hand harvesting and threshing remain practical at the intended scale.
Reserve planning should account for labor as carefully as land. Sowing a larger area may take only a few extra hours, while cutting, bundling, drying, threshing, winnowing, and cleaning can become bottlenecks. A crop that matures during travel, wildfire season, prolonged rain, or another major garden harvest is less dependable even if its theoretical yield is high. Mechanized seeding without an equally suitable harvest plan creates a lopsided system.
Use a simple planning sequence:
- Measure consumption: Record actual household wheat use by weight.
- Define coverage: Choose the number of reserve months rather than assuming one harvest must supply everything.
- Add seed needs: Set aside enough sound grain or purchased seed for the next sowing.
- Use a trial yield: Base expansion on cleaned grain from a measured local plot.
- Check handling capacity: Confirm that harvesting, threshing, drying, and storage can be completed promptly.
The recurring error is sizing the plot from optimistic yield figures and treating crop failure as an all-or-nothing event. A more resilient approach combines homegrown wheat with an existing stored reserve while field skills develop. Rotate older stored grain into meals, keep records from each crop, and expand only after the household can process the trial harvest without quality losses.
Planting and Field Management That Protect the Crop
Uniform emergence and early weed control have more influence on a small wheat stand than elaborate midseason intervention. Wheat competes well after it forms a dense canopy, but thin rows leave light, water, and nutrients available to weeds. The planting objective is therefore consistent seed placement in a firm seedbed with good soil contact, not deeply tilled, powdery ground.
Test the soil before applying fertilizer. Excess nitrogen can produce tall, lush growth that lodges, while deficient soil may limit tillering and head development. Soil pH and nutrient recommendations vary by region and soil type, so a laboratory report interpreted with local crop guidance is more reliable than a general garden fertilizer schedule. Manure and compost can contribute nutrients, but their release is less predictable and weed seeds may be introduced if the material is not well managed.
Seed is commonly placed roughly 1 to 1.5 inches deep, although moisture, soil texture, planting date, and local recommendations can justify an adjustment. Planting too deeply delays emergence and consumes seed reserves before leaves reach the surface. Planting too shallowly may leave seed in dry soil or expose it to birds. Calibrate a drill or hand seeder over a known distance, then uncover several seeds to confirm actual depth and spacing. Equipment settings are only starting points because wheel slip and soil condition change delivery.
Broadcasting can work on a carefully prepared small plot, but it usually produces less consistent placement than drilling in rows. Broadcast seed needs prompt, shallow incorporation and firming; seed left on the surface germinates unevenly and attracts wildlife. Rows make establishment easier to inspect and permit limited mechanical weed control, although wide spacing can give weeds more room. The better method is the one that achieves an even stand without burying seed erratically.
Get Whole Wheat Flour, Grains and Milling Supplies – CLICK HERE 
Walk the plot at emergence, during active vegetative growth, when heads appear, and after storms. Look for blank strips that indicate seeder problems, yellow or stunted patches associated with drainage or fertility differences, chewed seedlings, spreading weeds, leaf discoloration, and stems leaning near the base. Diagnose patterns before acting. A rectangular pale area may point to application overlap or soil history, while scattered damaged heads may suggest wildlife or disease. Spraying or fertilizing without identifying the pattern can waste time and worsen the problem.
Crop rotation lowers the risk of repeatedly favoring the same weeds, diseases, and residue-borne problems. Avoid treating a permanent wheat patch as the simplest option. Rotating with a broadleaf crop also creates different weed-control opportunities. The frequent failure mode is waiting until weeds tower above the wheat, when removal damages heads and sheds more weed seed. Early hoeing between rows or hand removal on a household plot is slower than prevention but far more effective than a late rescue attempt.
How Do You Harvest, Dry, and Store Homegrown Wheat?
Harvest quality is determined by kernel maturity, weather, and the speed with which grain is dried and protected after threshing. Stems and heads may look golden before kernels are ready for storage. Mature kernels should be hard and difficult to dent with a fingernail, but appearance and hardness do not replace moisture measurement when grain is intended for a long reserve.
Cutting too early captures grain with excess moisture and incomplete fill. Waiting too long increases exposure to shattering, birds, wind, and repeated wetting. On a small plot, sample heads from several locations rather than judging the field edge. If rain threatens after physiological maturity, cutting and curing sheaves under a dry, ventilated cover may reduce field exposure, provided bundles are kept loose enough to prevent heating or mold.
Thresh only as much material as the cleaning setup can handle. Tarps, tubs, or enclosed equipment help prevent clean grain from mixing with soil, stones, fuel, lubricants, or animal droppings. Winnowing removes light chaff, but it does not reliably remove every weed seed, damaged kernel, or small stone. Screen the grain in stages and inspect it under good light. Food grain must be kept separate from seed treated with agricultural products; treated seed should never enter the household food supply.
A grain moisture meter suited to wheat provides more dependable information than biting kernels or listening for a particular sound. For extended ambient storage, wheat is often dried to approximately 12% to 13% moisture, with the appropriate target affected by storage temperature, duration, and local conditions. Confirm the target and meter method through regional extension guidance. Moisture readings can vary across a batch, so test multiple samples after the grain has cooled and moisture has equalized.
Clean, dry wheat belongs in food-grade containers that exclude insects and rodents. Containers should be labeled with variety, harvest date, measured moisture, and intended use. Store them off the floor in a cool, dry place where leaks, condensation, and pest activity can be noticed. Inspect periodically for webbing, live insects, musty odor, clumping, warmth, or condensation. Any of those signs calls for immediate investigation rather than simply resealing the container.
Keep planting seed as a distinct lot selected from healthy, fully mature grain. Before sowing season, conduct a germination test on a counted sample using moist material under suitable indoor conditions. Poor or uneven germination gives time to obtain replacement seed or adjust plans. The common storage mistake is sealing grain because it feels dry, then discovering moisture migration or insect activity months later. Measured moisture, clean containers, labels, and scheduled inspection turn a harvest into a usable reserve rather than an uncertain stockpile.
Frequently Asked Questions
Can grocery-store wheat berries be planted?
Some may germinate, but their variety, age, treatment, and regional adaptation may be unknown. Named planting seed offers more predictable emergence, maturity, and disease characteristics.
Is winter wheat or spring wheat better for a home plot?
The better choice matches local winters and planting windows. Winter wheat suits areas where it can establish in autumn and survive cold; spring wheat avoids overwintering but may face late heat or drought.
Can wheat be grown without specialized machinery?
Yes, on a modest plot. Hand seeding, sickles or shears, tarps, screens, and fans can work, but harvest and threshing labor usually limit scale before planting does.
How can I tell whether stored wheat is too damp?
Use a grain moisture meter designed for wheat and sample several parts of the batch. Condensation, clumping, musty odors, or warming are warning signs, not substitutes for measurement.
Should planting seed and food wheat be stored together?
Keep them in separate, labeled containers. A distinct seed lot simplifies germination testing and prevents any treated planting seed from being confused with edible grain.
Conclusion
A reliable home wheat supply is built through repeatable measurements rather than maximum acreage. Select a cultivar proven for the local season, begin with a measured plot, and record clean yield instead of estimating production from standing heads. Give early establishment and weed suppression priority because weak stands are difficult to repair later.
Before expanding, prove that the household can cut, thresh, clean, dry, and package the crop within the available labor window. Verify moisture with an appropriate meter, label every container, and inspect stored grain for insects, condensation, odor, and temperature changes. Retain a separate seed lot and test its germination before planting time. The practical next step is to obtain regional variety and planting guidance, measure current wheat consumption, and design one trial whose harvest can be processed without delay.
Get Whole Wheat Flour, Grains and Milling Supplies – CLICK HERE
Auto Amazon Links: No products found.